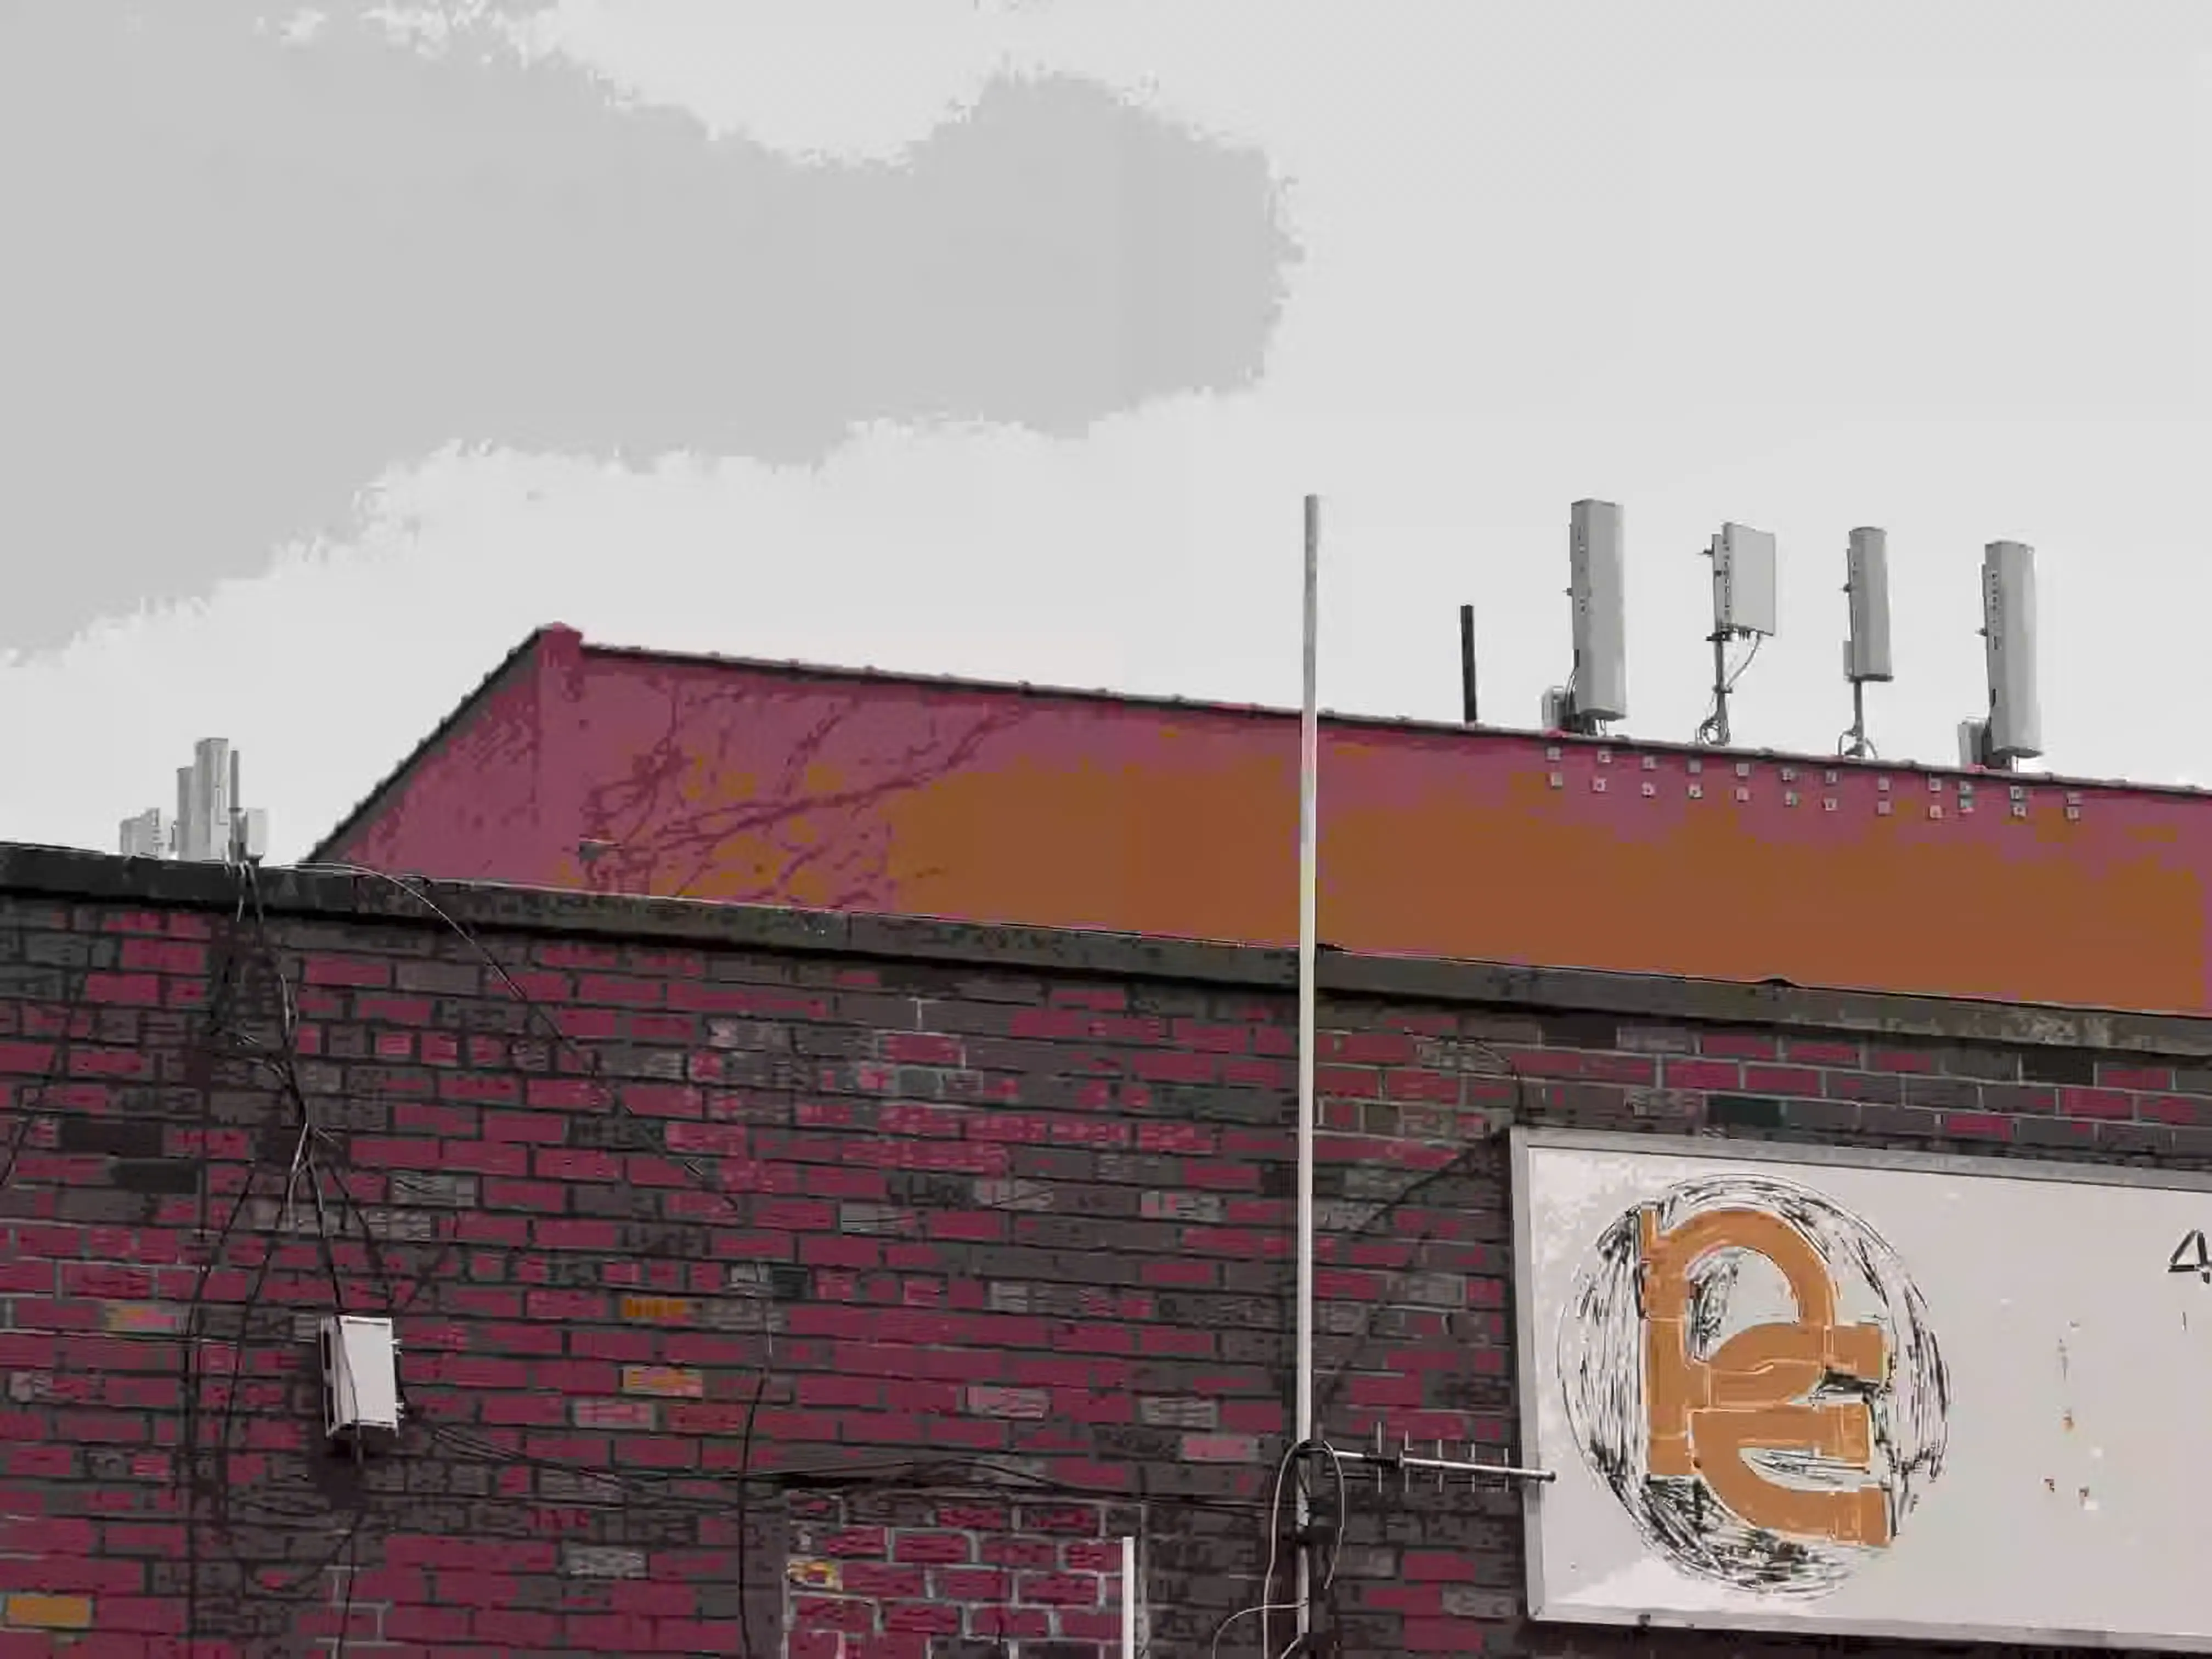
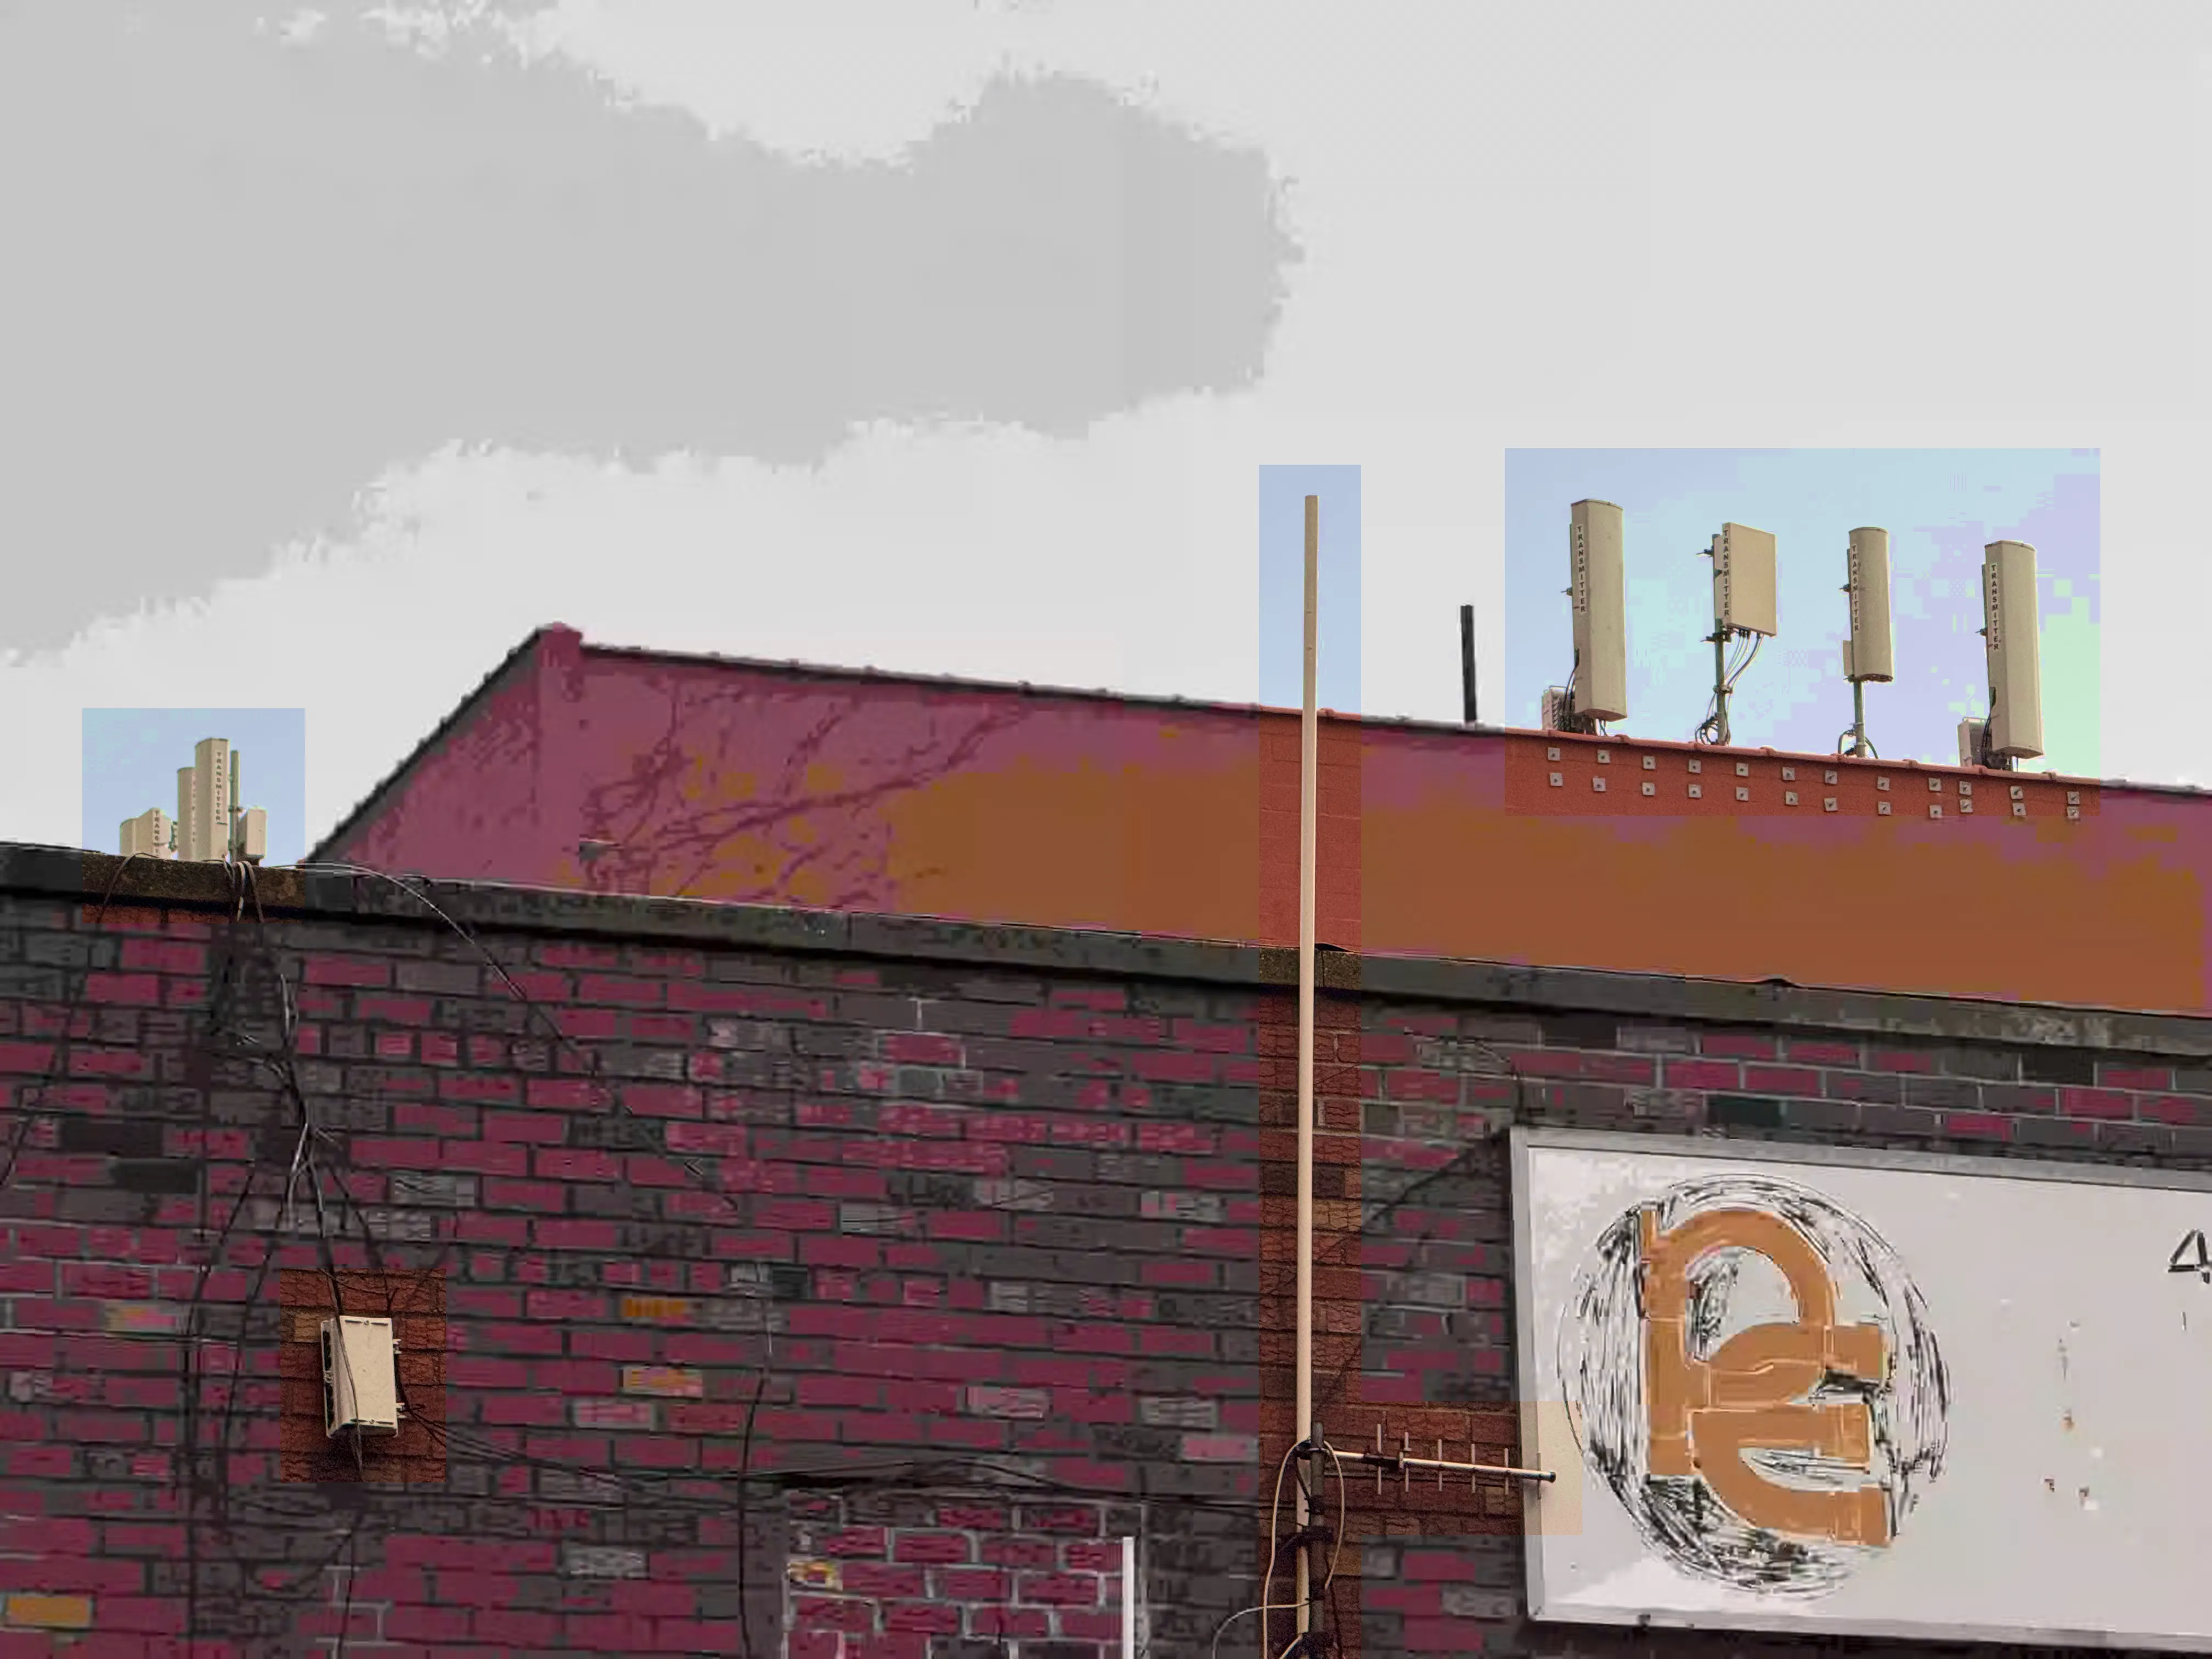
This is the "[long explanation]" part of the Yes-and-ism photography collection I put out yesterday. Hopefully this demystifies some of the stuff I did and inspires some more "glitch art" too!
Step 1: Find Images
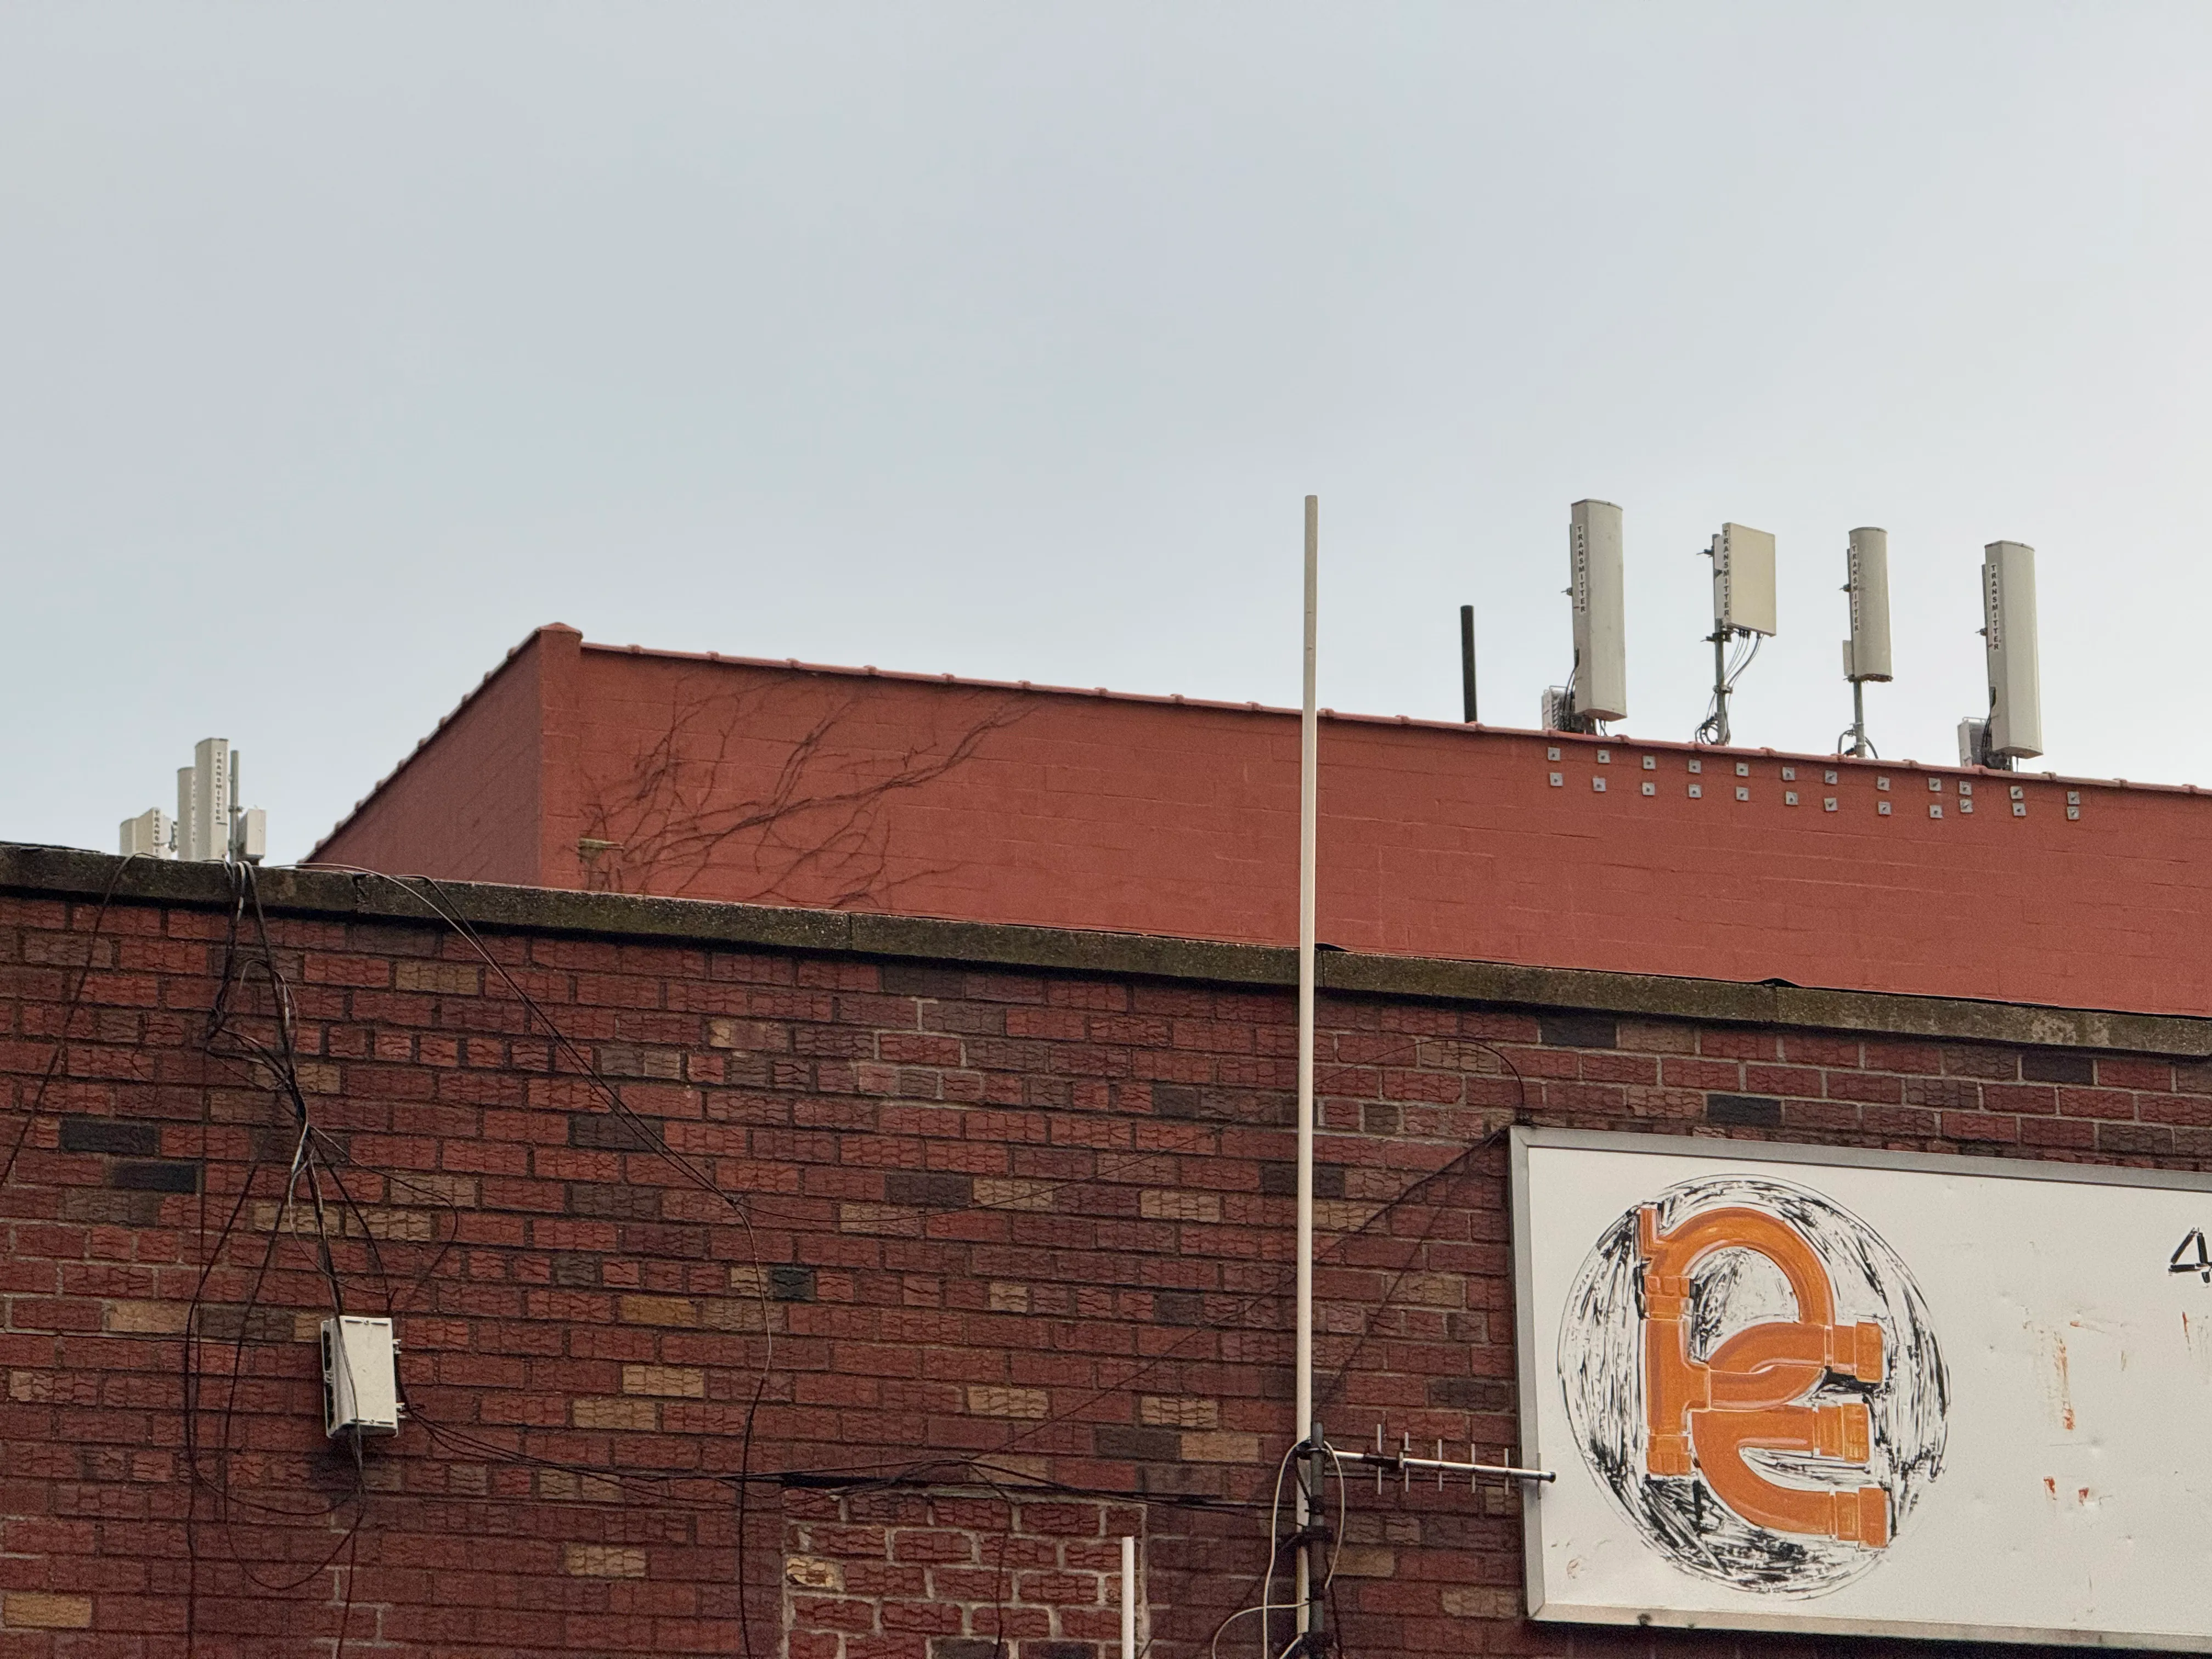
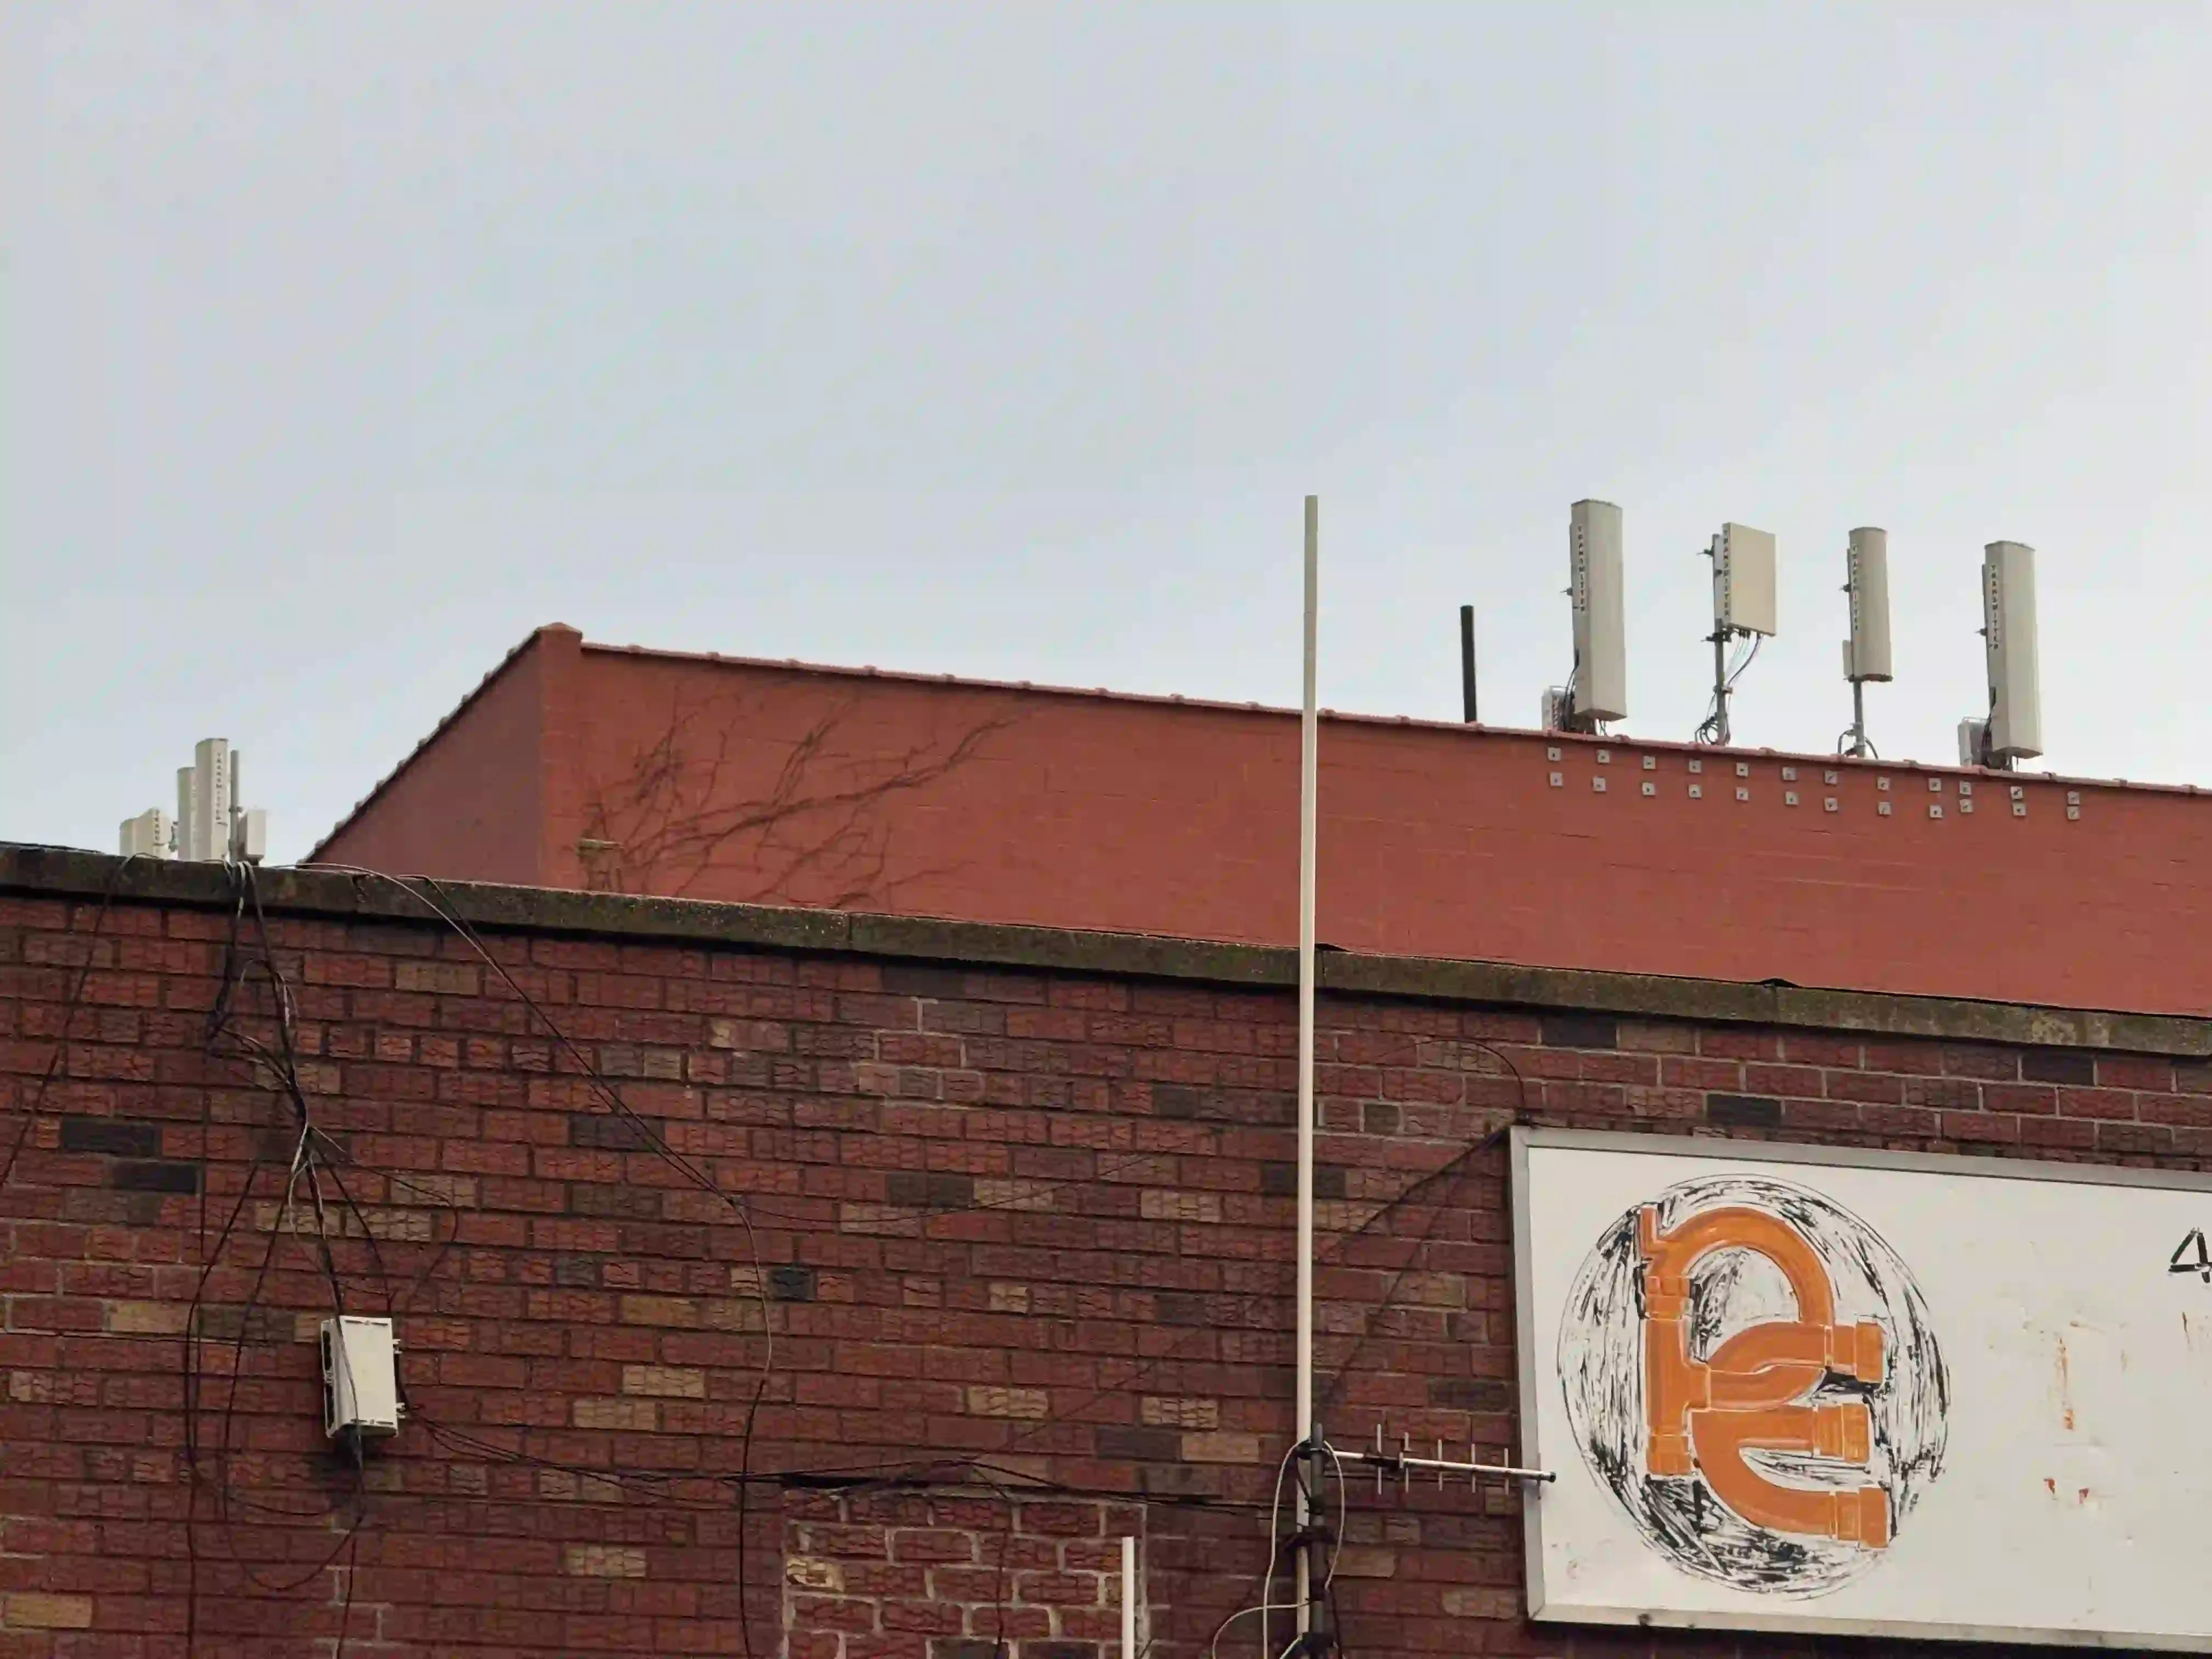
There's no getting around this: to start, I had to take a lot of photos just to sift through them all in order to come up with (only!) 9 final pieces. Each step is a whittling-down: from "everything" to "just stuff that immediately looks interesting" to "stuff that's probably going to work" to "stuff that actually does work". Let's see an image that made it all the way, image #1, IMG_0540.HEIC1 ("antennae"):
Step 2: Look For Interesting Encodings
My goal for this project was "make something that looks good even after being run thru a -quality 1 encoder". In order to make that happen, I first had to know how each encoder behaved. I had in mind 4 lossy image formats: AVIF, JPEG, JPEG XL, and WebP. There are other lossy formats out there, but these I already knew had "interesting" behavior at low quality levels & were readily understood by all my image manipulation tools.
To make these, I used ImageMagick (and a POSIX shell):
for enc in avif jpeg jxl webp; do
    magick -quality 1 IMG_0540_stage0.png IMG_0540_stage1.${enc}
    magick IMG_0540_stage1.${enc} IMG_0540_stage1_${enc}.png
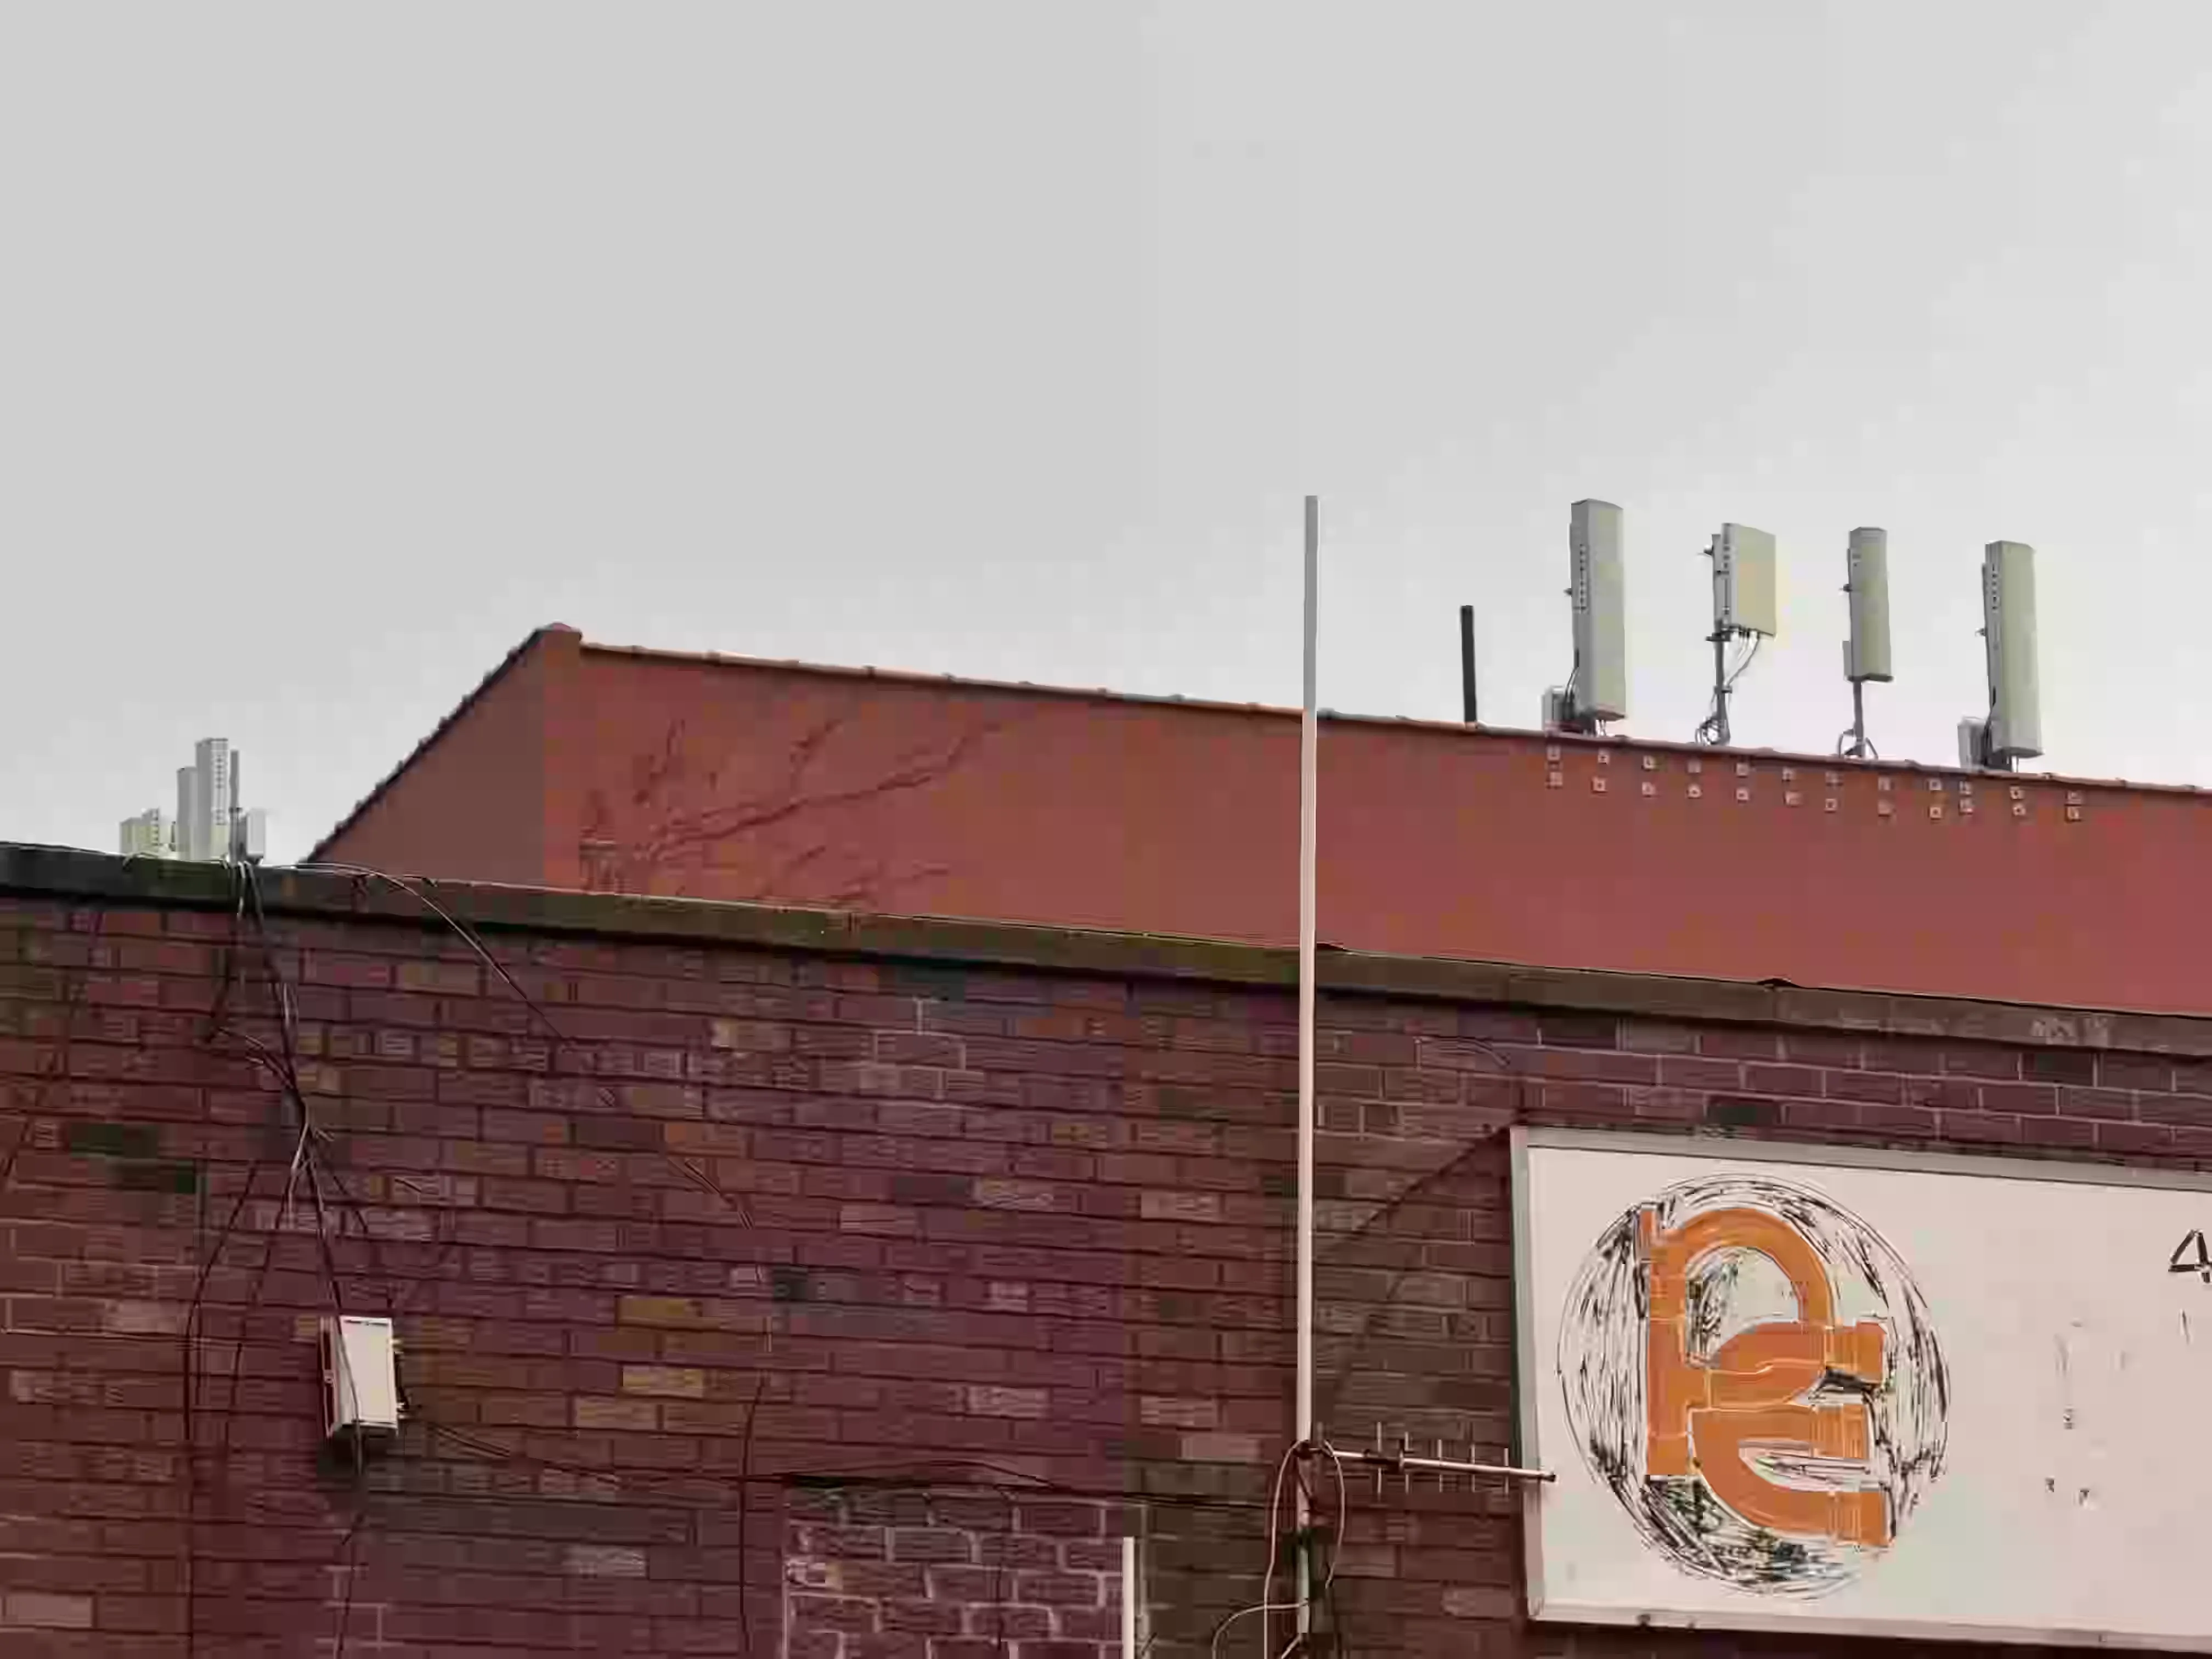
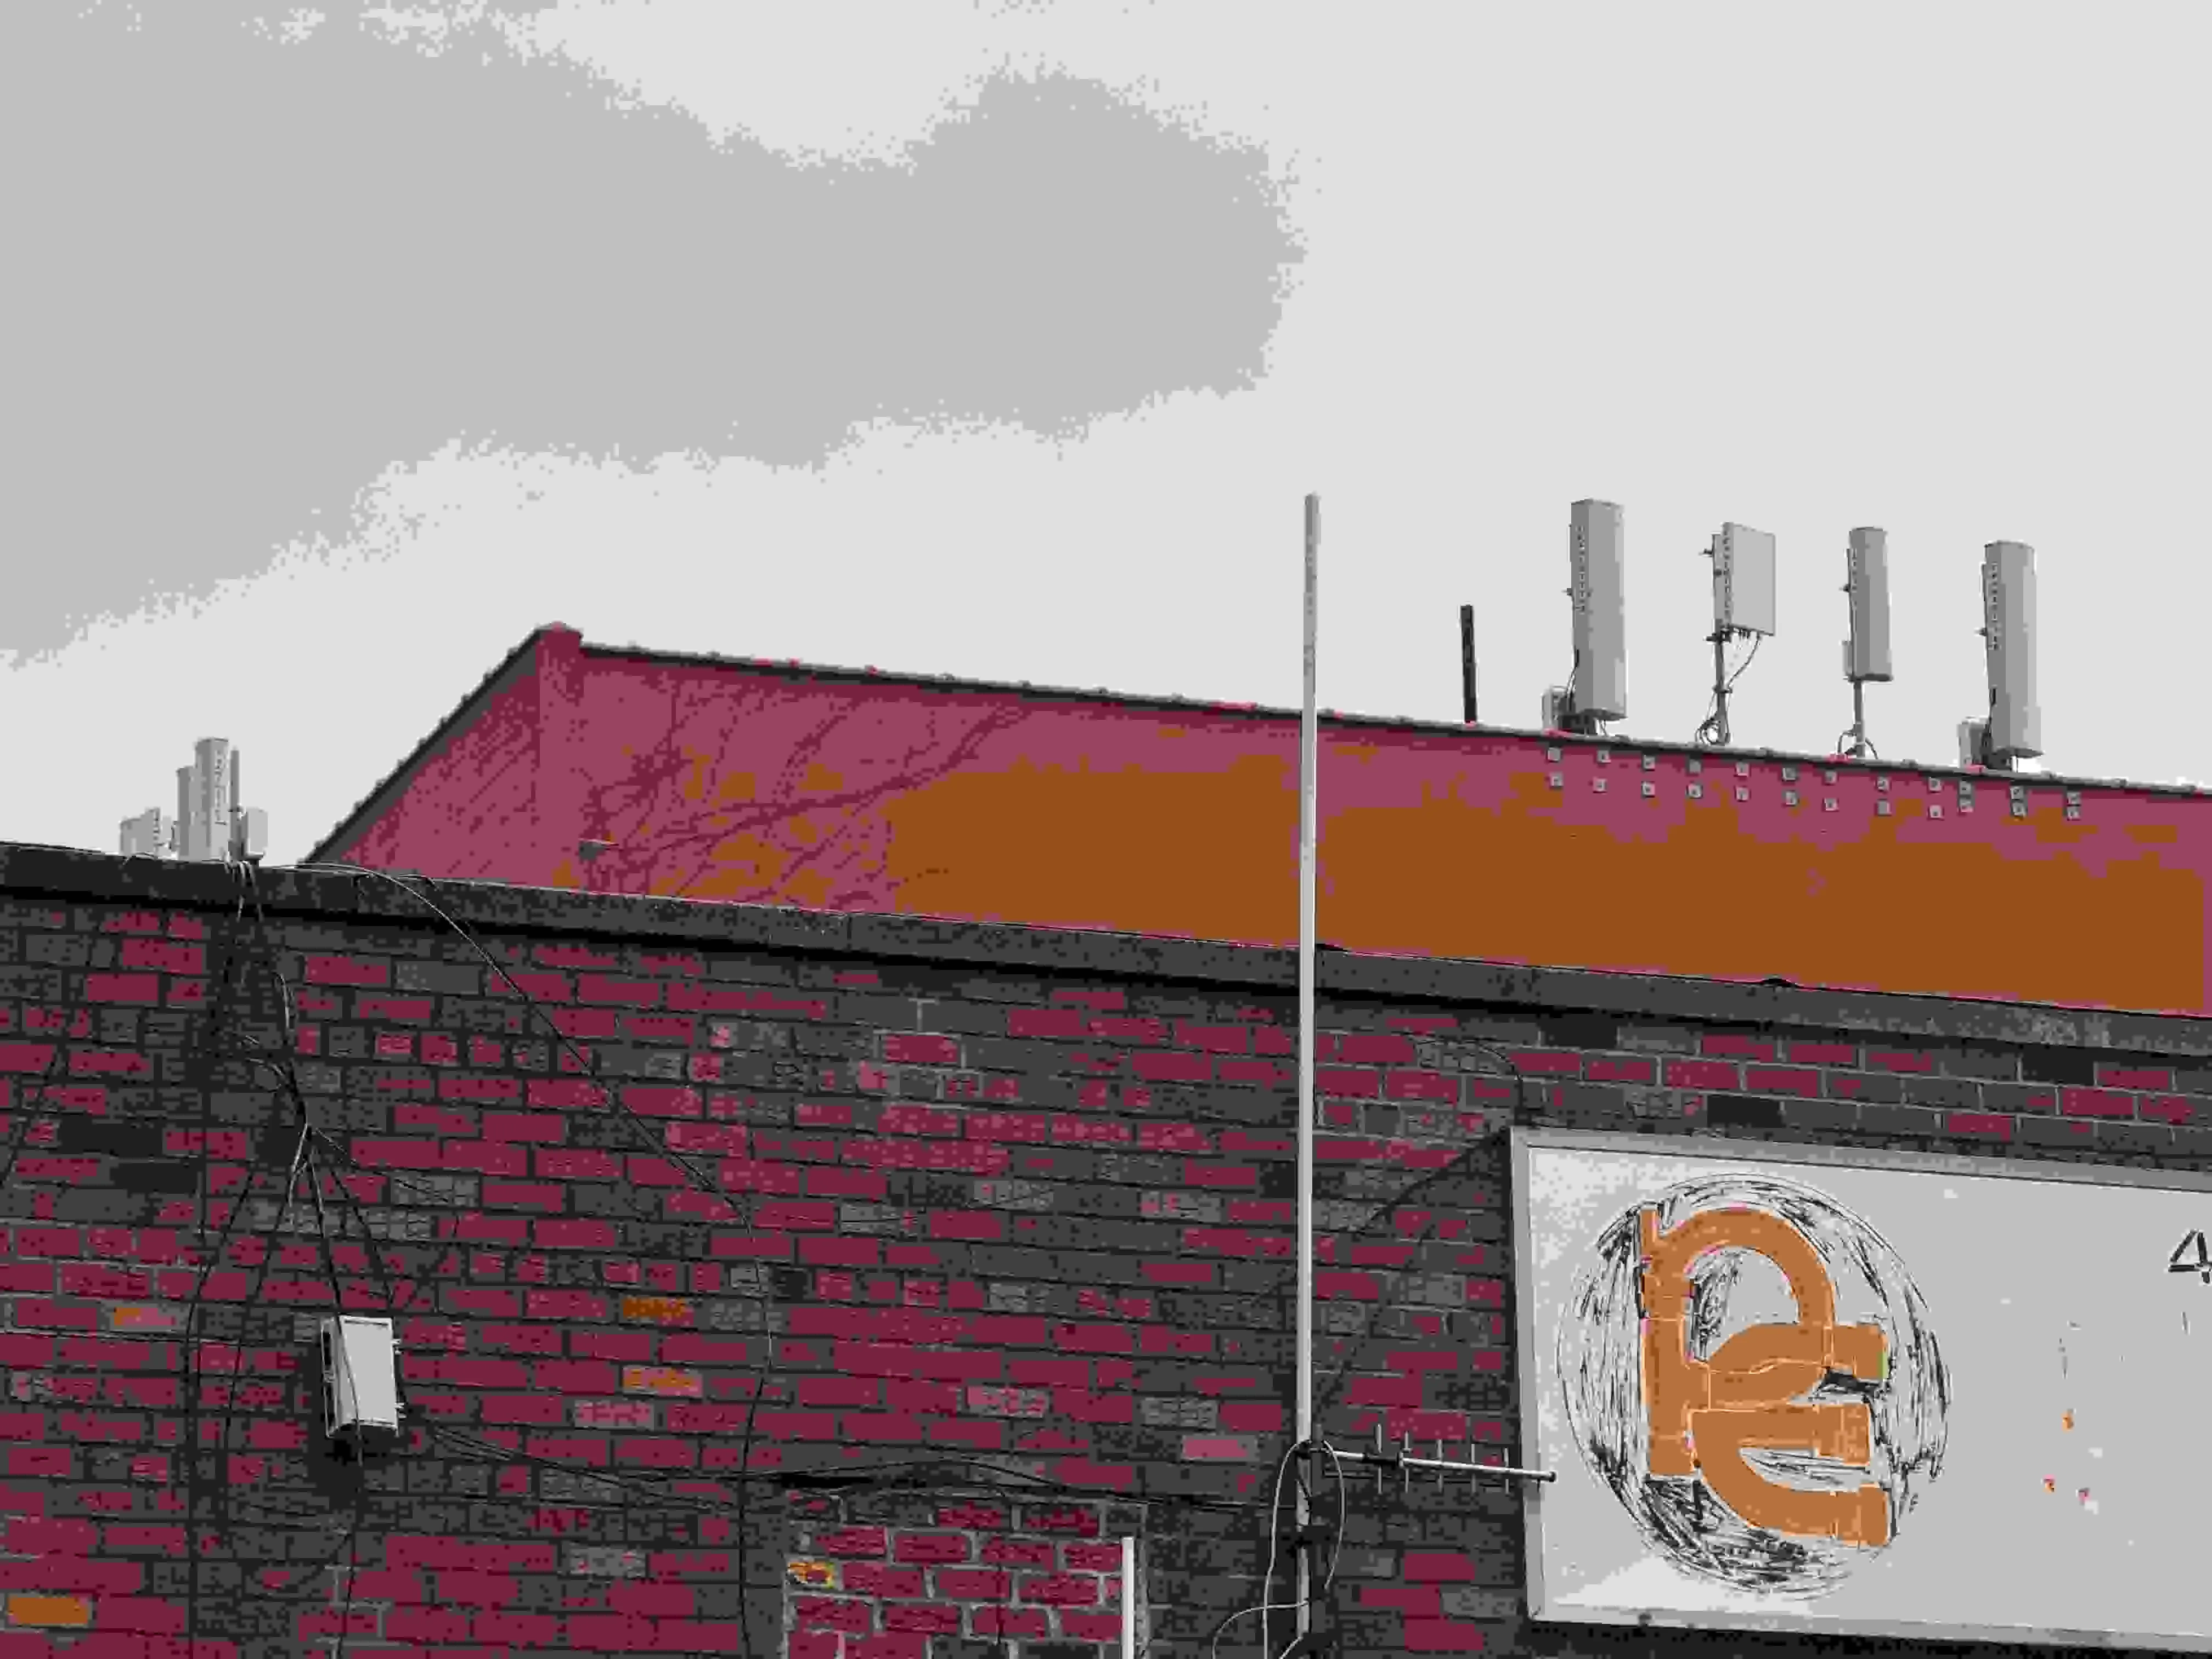
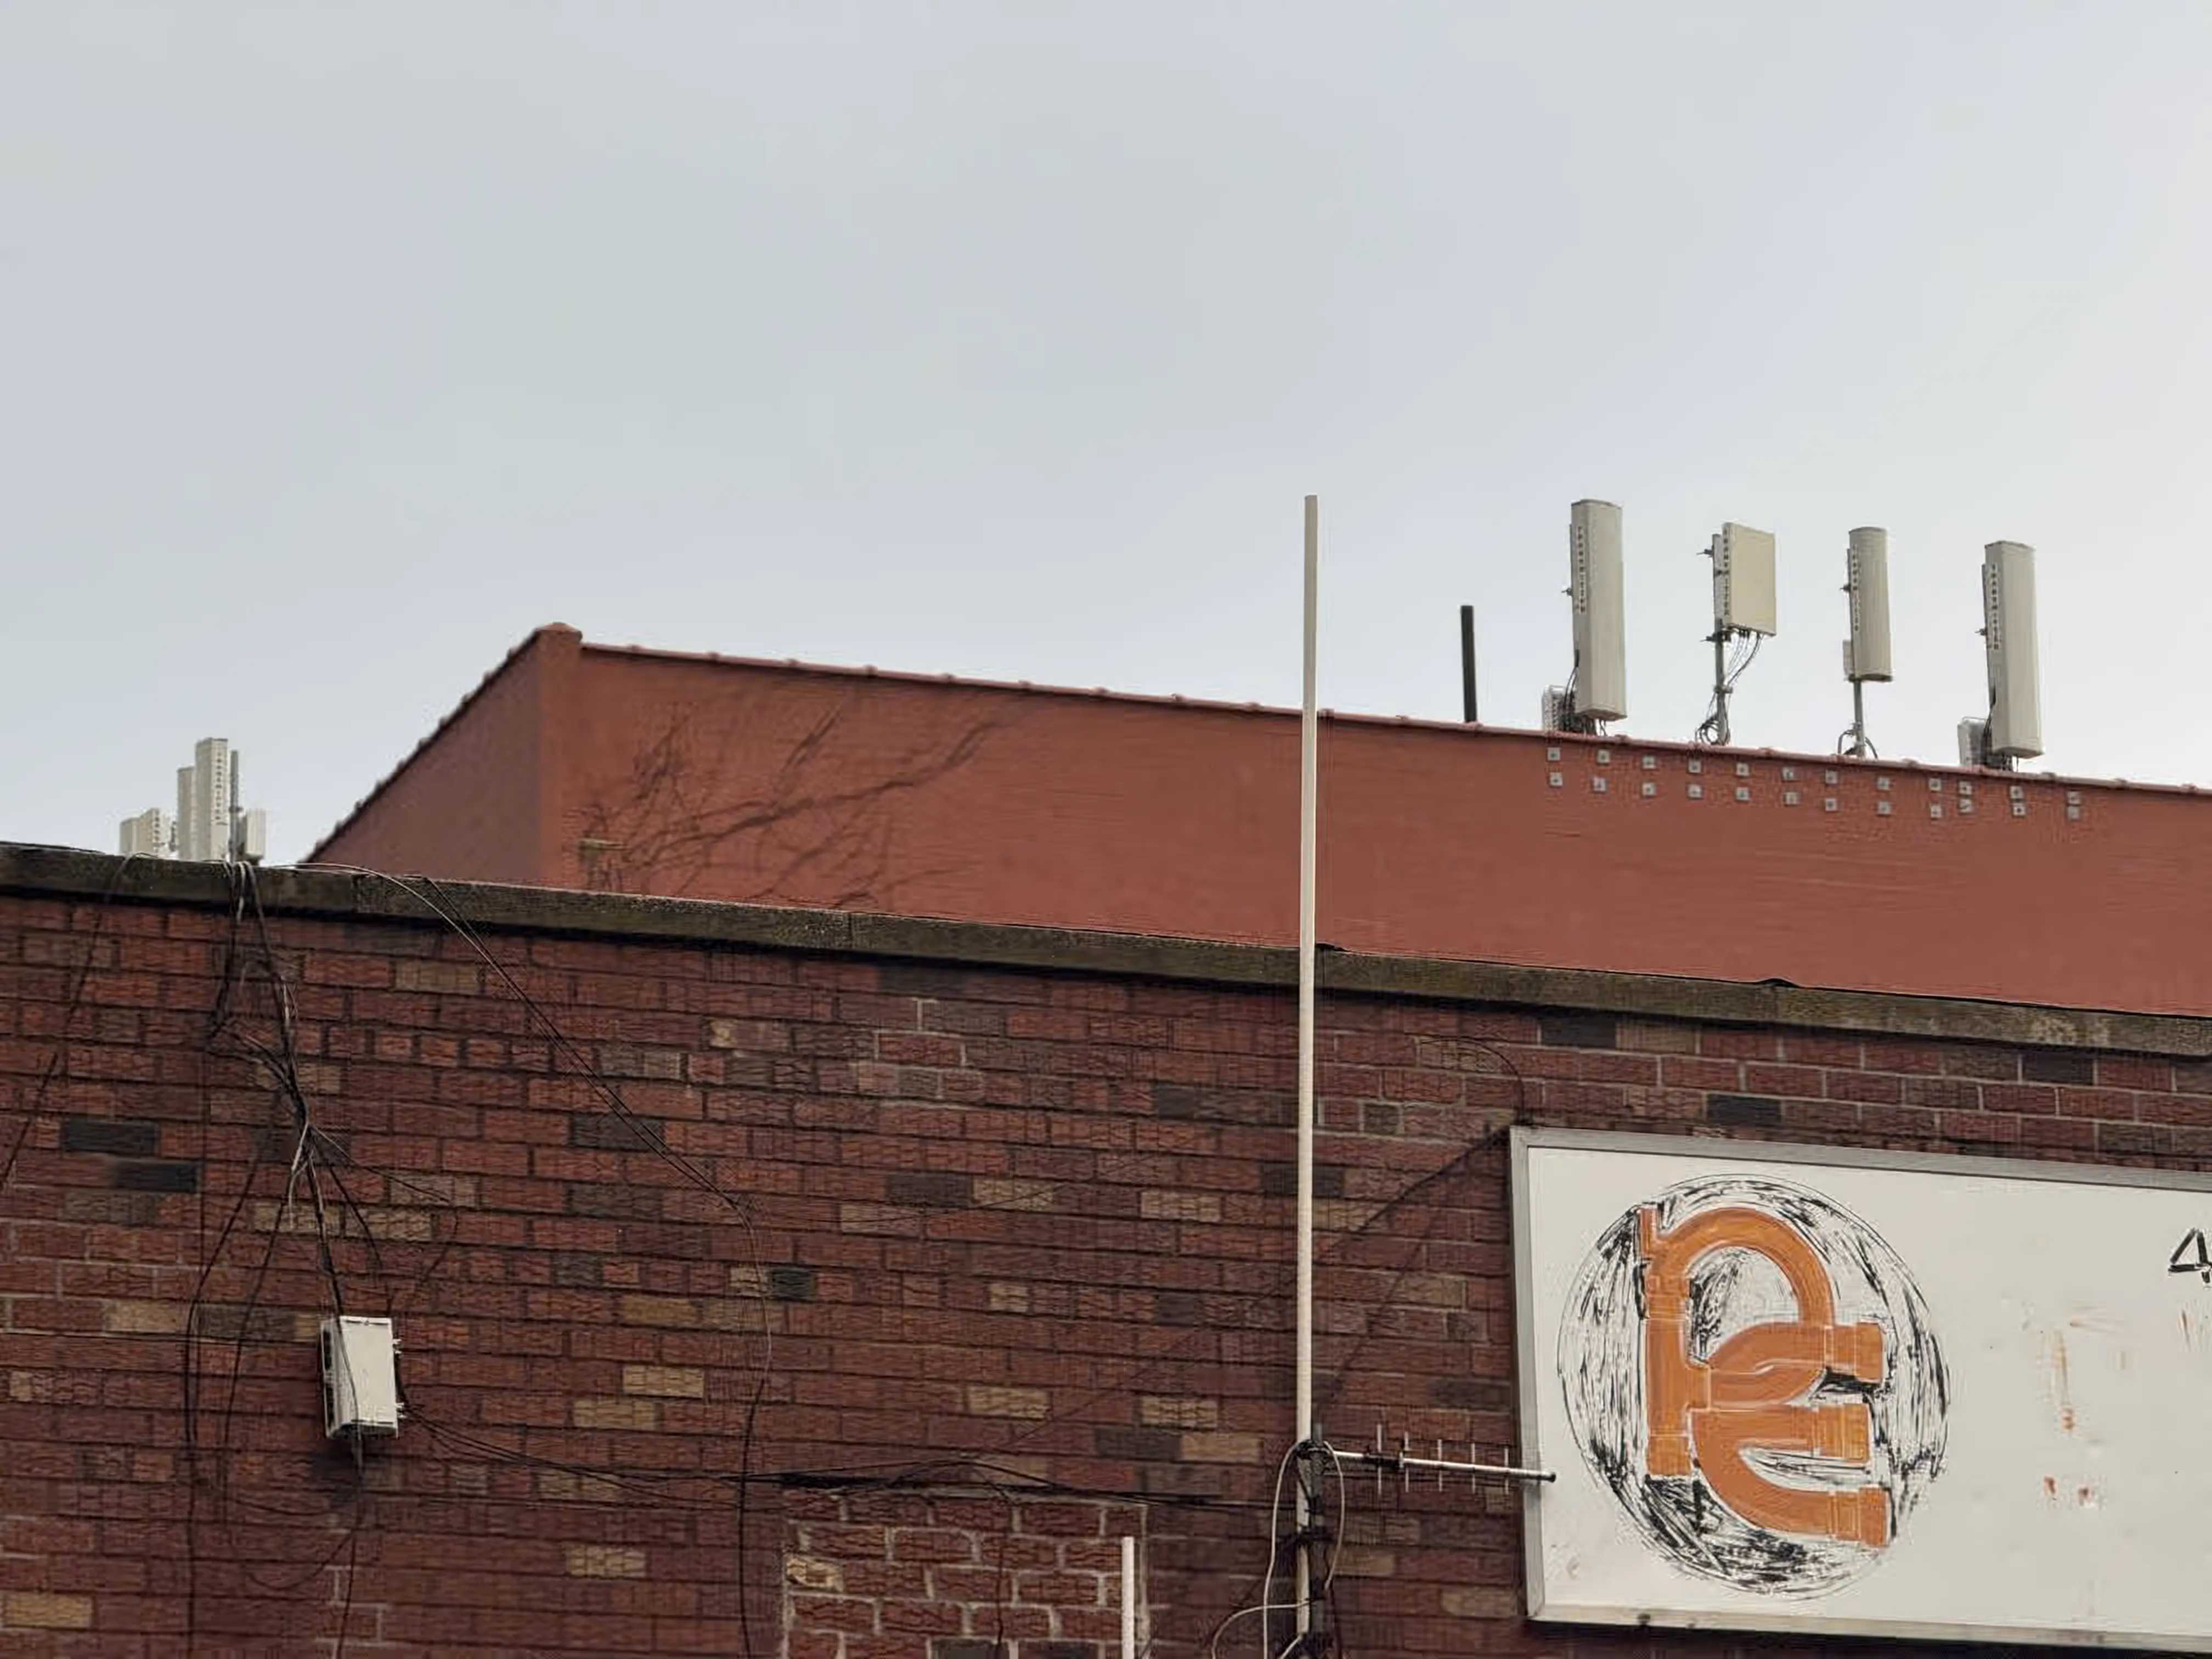
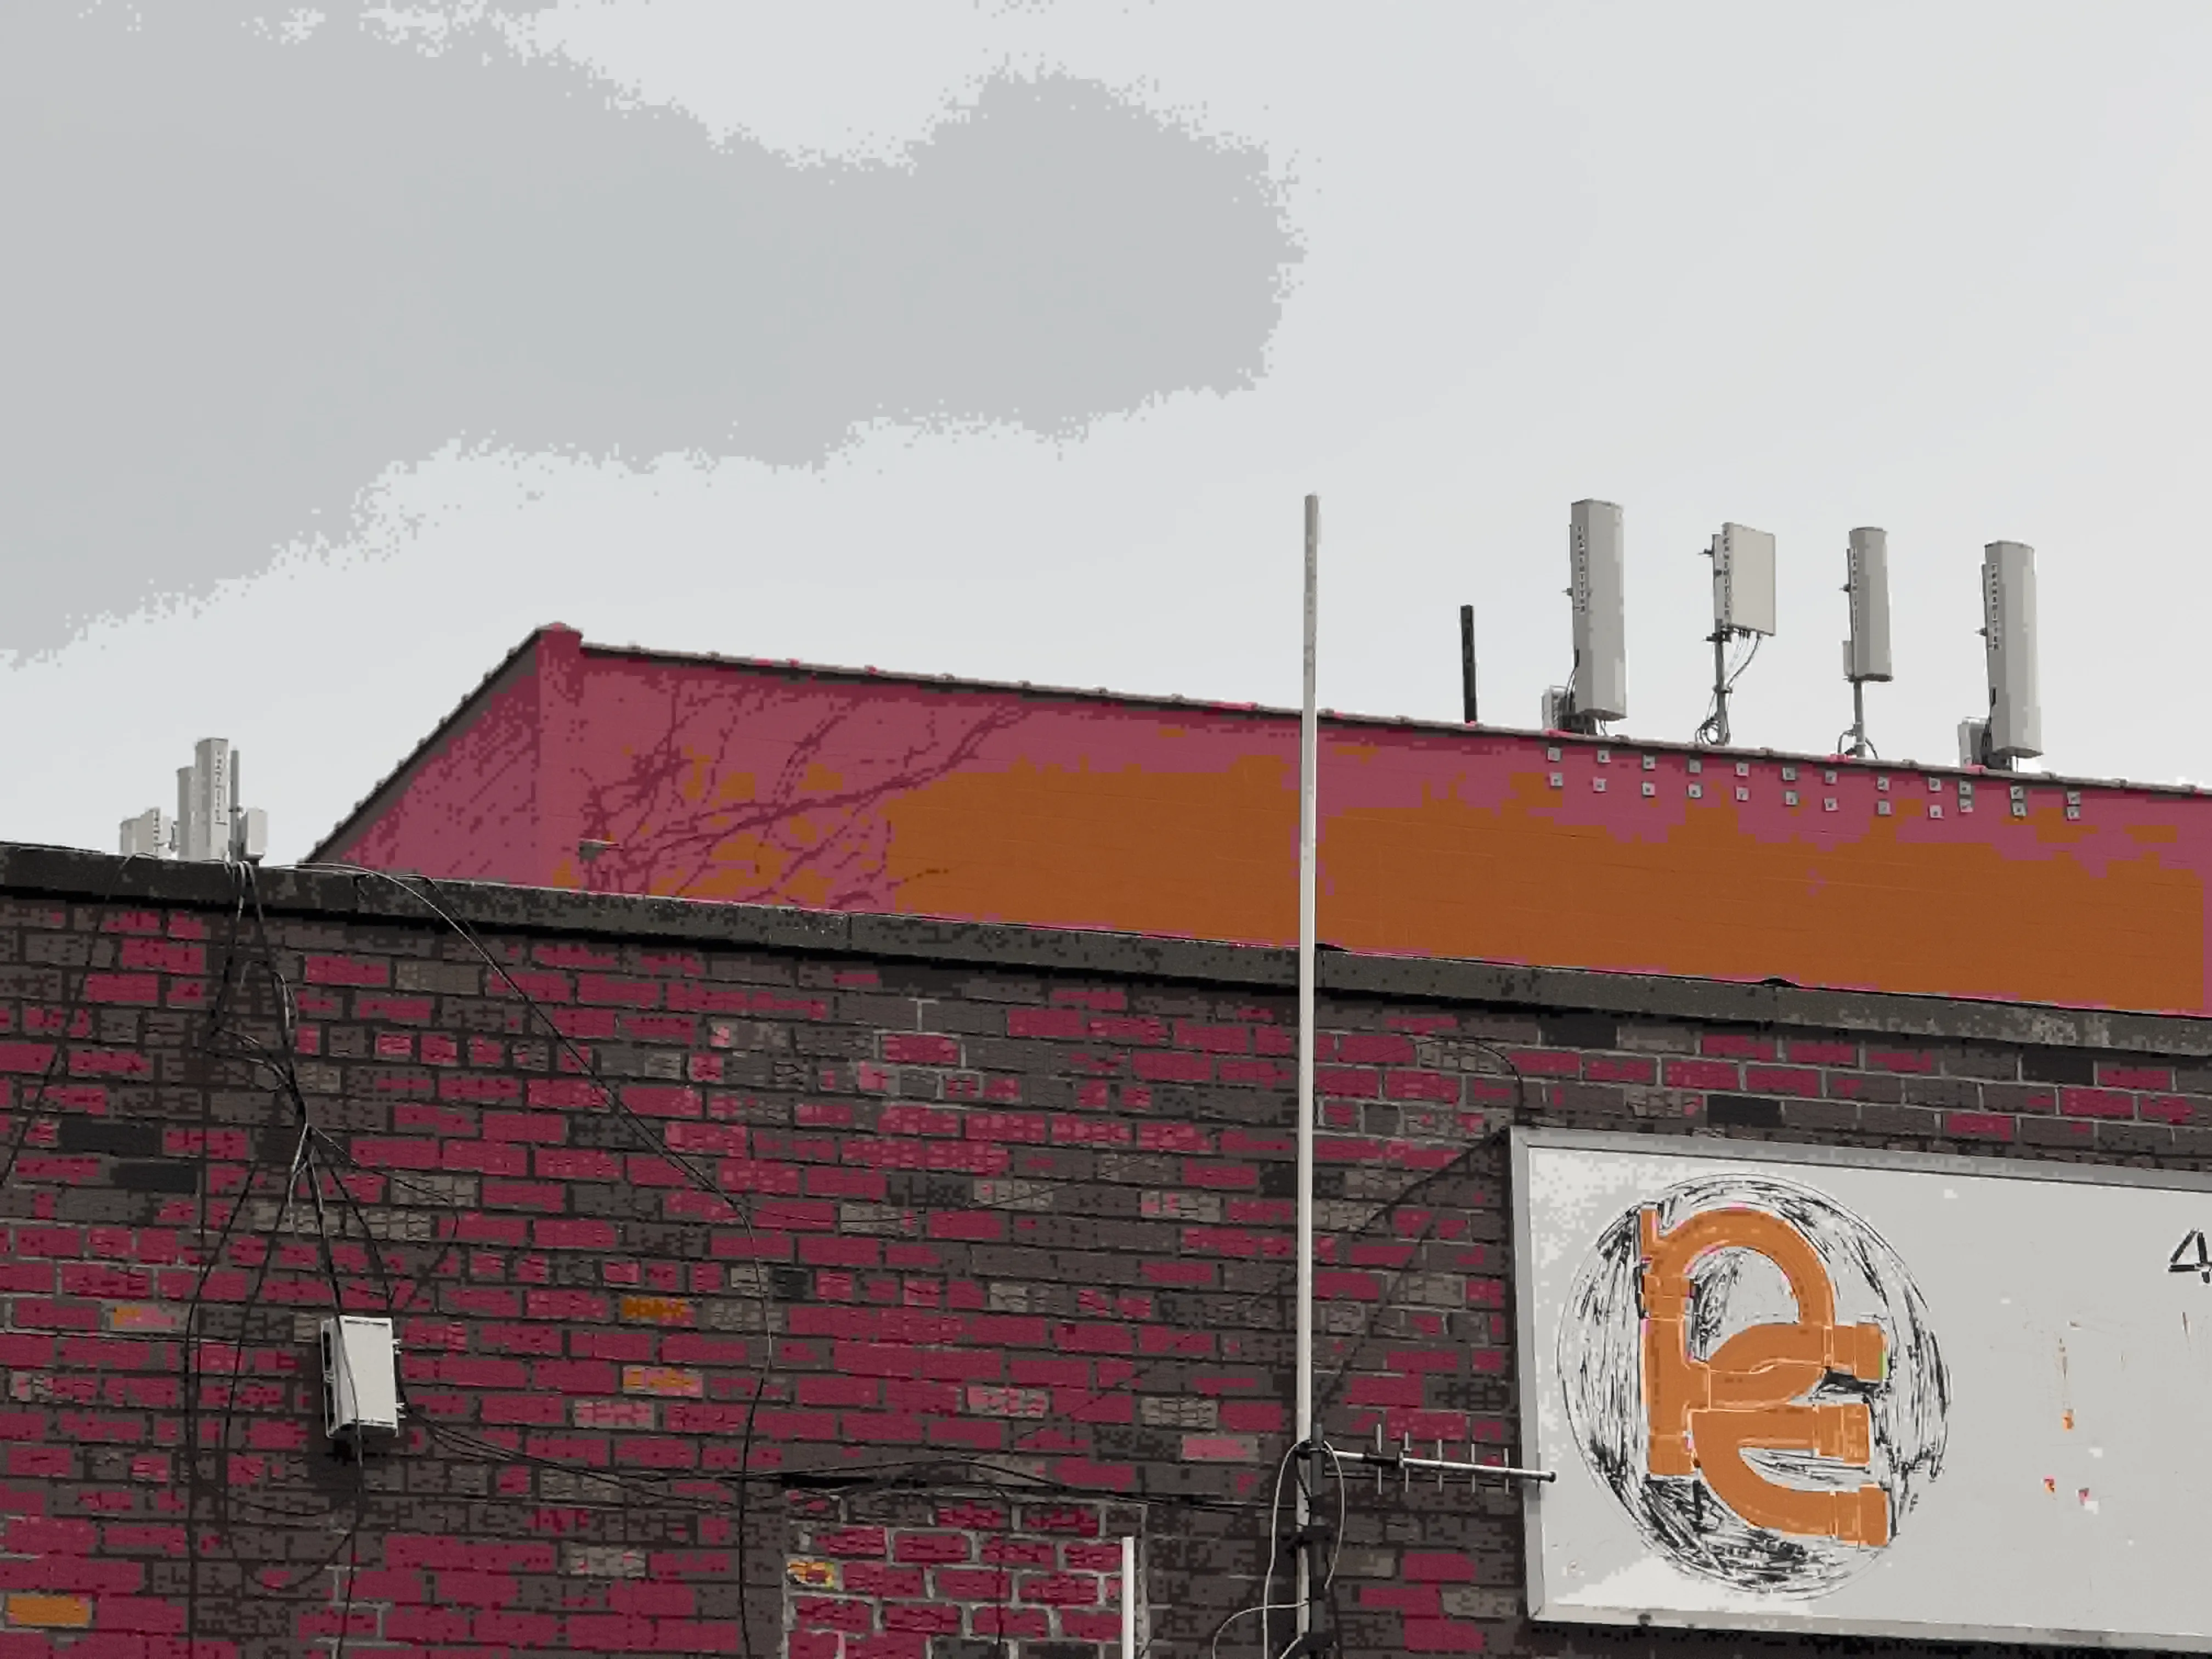
doneRight away, we see that JPEG (the oldest format) is a huge outlier; compared to the other formats, it's done crazy things to the colors & shapes, very limited palette & lots of hard edges. Quite distinctive, but maybe a bit too crazy... and also too recognizable, everyone & their mom knows what a deep fried JPEG looks like nowadays.
AVIF is second when it comes to aesthetics. It does a little bit of fun stuff with the colors still, especially with that prominent line down the middle, and generally makes things more blocky too. JPEG XL is third, making things look blockier if you zoom in but not from a distance. WebP is dead last, everything just gets blurrier in a boring way.
Here are the resulting filesizes2:
$ eza -la IMG_0540_stage*
.rw-rw-r-- 9.7M me 27 Sep 16:53 IMG_0540_stage0.png
.rw-rw-r--  22k me 27 Sep 16:55 IMG_0540_stage1.avif
.rw-rw-r--  96k me 27 Sep 16:55 IMG_0540_stage1.jpeg
.rw-rw-r--  68k me 27 Sep 16:55 IMG_0540_stage1.jxl
.rw-rw-r-- 107k me 27 Sep 16:55 IMG_0540_stage1.webp
.rw-rw-r--  24M me 27 Sep 16:57 IMG_0540_stage1_avif.png
.rw-rw-r--  12M me 27 Sep 16:57 IMG_0540_stage1_jpeg.png
.rw-rw-r--  28M me 27 Sep 16:57 IMG_0540_stage1_jxl.png
.rw-rw-r--  28M me 27 Sep 16:57 IMG_0540_stage1_webp.png
It's interesting to me that JPEG has the second largest filesize when it's also the most unnatural looking; I guess modern image formats really are improved huh :P. It's also interesting to see the filesizes of the resulting PNGs after the other compression passes. "Don't put a zip inside a zip" definitely applies to images, though some fault in the large size might also be due to ImageMagick's default settings. Anyways.
Step 3: Run The Pipeline
After seeing these encoding results on various images, I somewhat arbitrarily decided on the following pipeline:
- Encode as JPEG
- Blend with 50% of step 1, 50% of original
- Encode as AVIF
- Blend with 75% of step 3, 25% of step 2
- Encode a JPEG XL
Expressing this as a Makefile:
input_files := $(shell find -type f -name "*.HEIC")
output_files := $(input_files:%.HEIC=%_stage3.png)
all: $(output_files)
# (1)
%_stage1.jpg: %.HEIC
	magick -quality 1 $< $@
# (2)
%_stage1_blend.txt: %_stage1.jpg
	python3 -c 'print(input(""),end="")' > $@
%_stage1.png: %_stage1_blend.txt %_stage1.jpg %.HEIC
	magick composite -blend $(shell cat $<) $(filter-out $<,$^) $@
# (3)
%_stage2.avif: %_stage1.png
	magick -quality 1 $< $@
# (4)
%_stage2_blend.txt: %_stage2.avif
	python3 -c 'print(input(""),end="")' > $@
%_stage2.png: %_stage2_blend.txt %_stage2.avif %_stage1.png
	magick composite -blend $(shell cat $<) $(filter-out $<,$^) $@
# (5)
%_stage3.jxl: %_stage2.png # (5)
	magick -quality 1 $< $@
%_stage3.png: %_stage3.jxl
	magick $< $@
.SECONDARY: # Keep all intermediate files
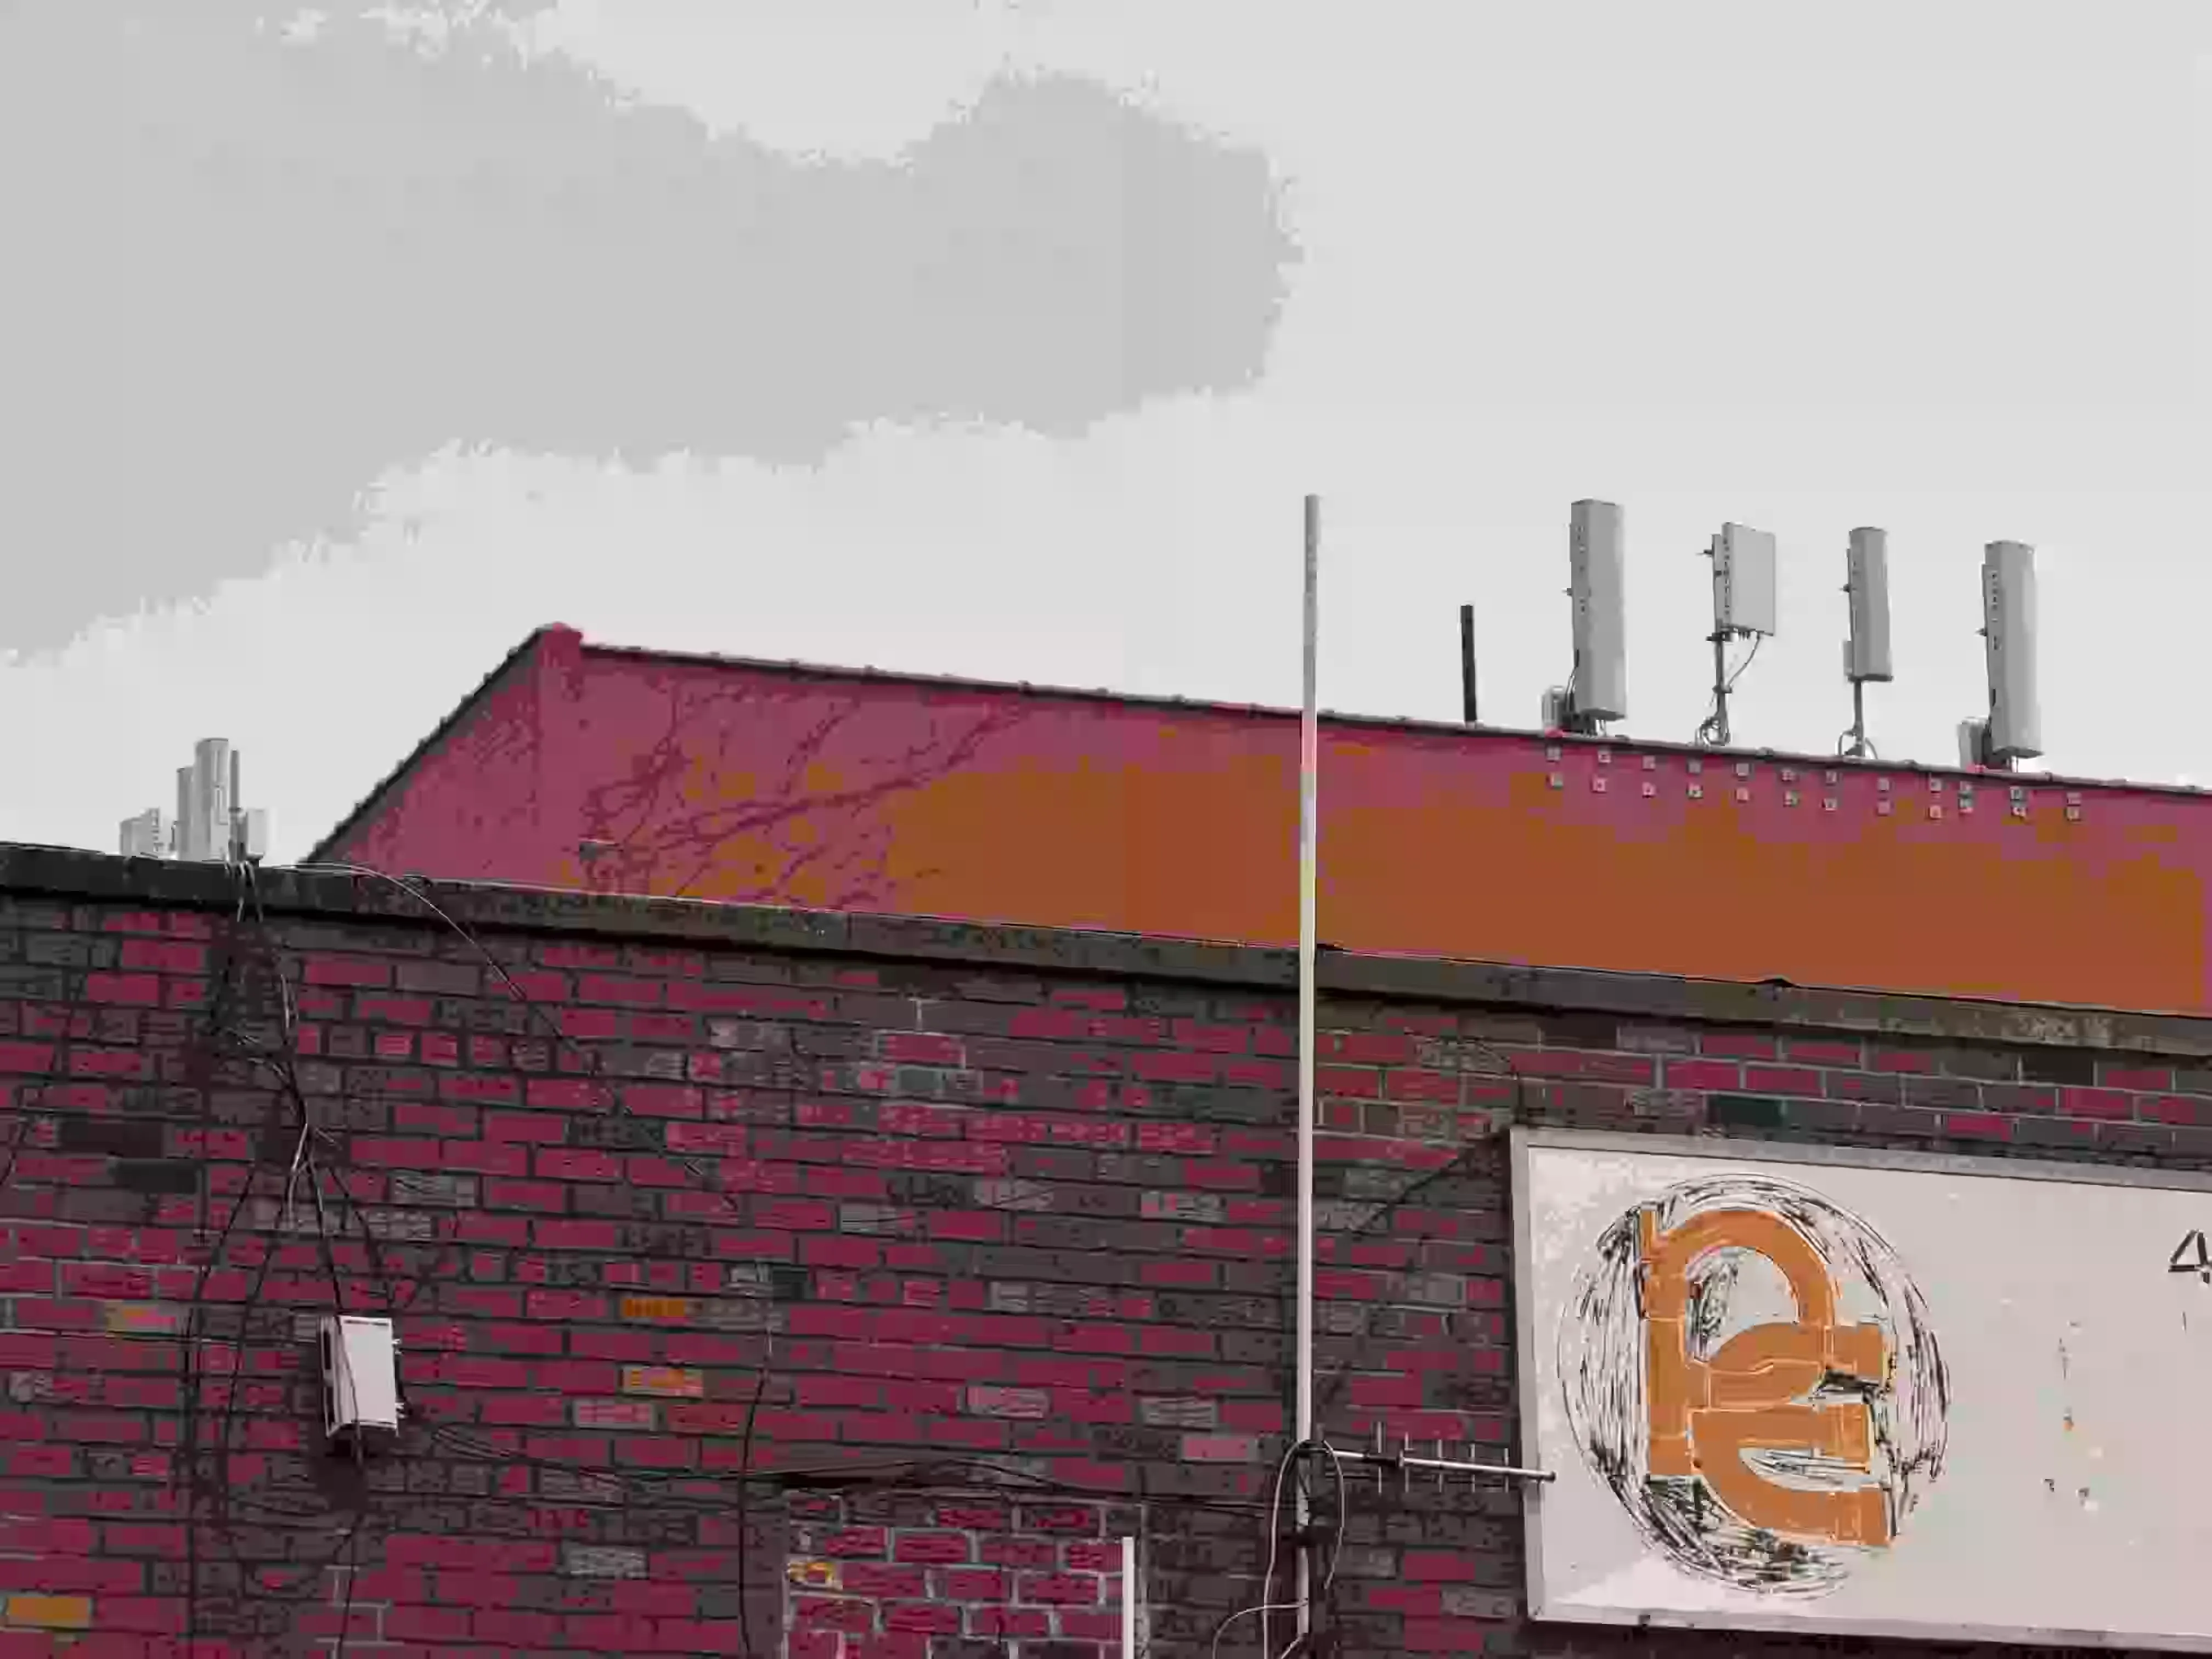
Each *_blend.txt step was so that I could interactively choose a blending amount for each image, because while 50% & 75% were pretty ok most the time, they were not universally good. As an example, IMG_0540 needed 70% blend on the first stage, otherwise the blockiness didn't show up enough for my tastes. The benefit of using a Makefile like this is that, after seeing a result I didn't like at 50, I could always update it with echo -n "70" > IMG_0540_stage1_blend.txt; make.
I made sure to record all the values used to make every image, but it's too boring to reproduce them all here, so I'll show off just the one completed pipeline instead:
Step 4: Postprocessing
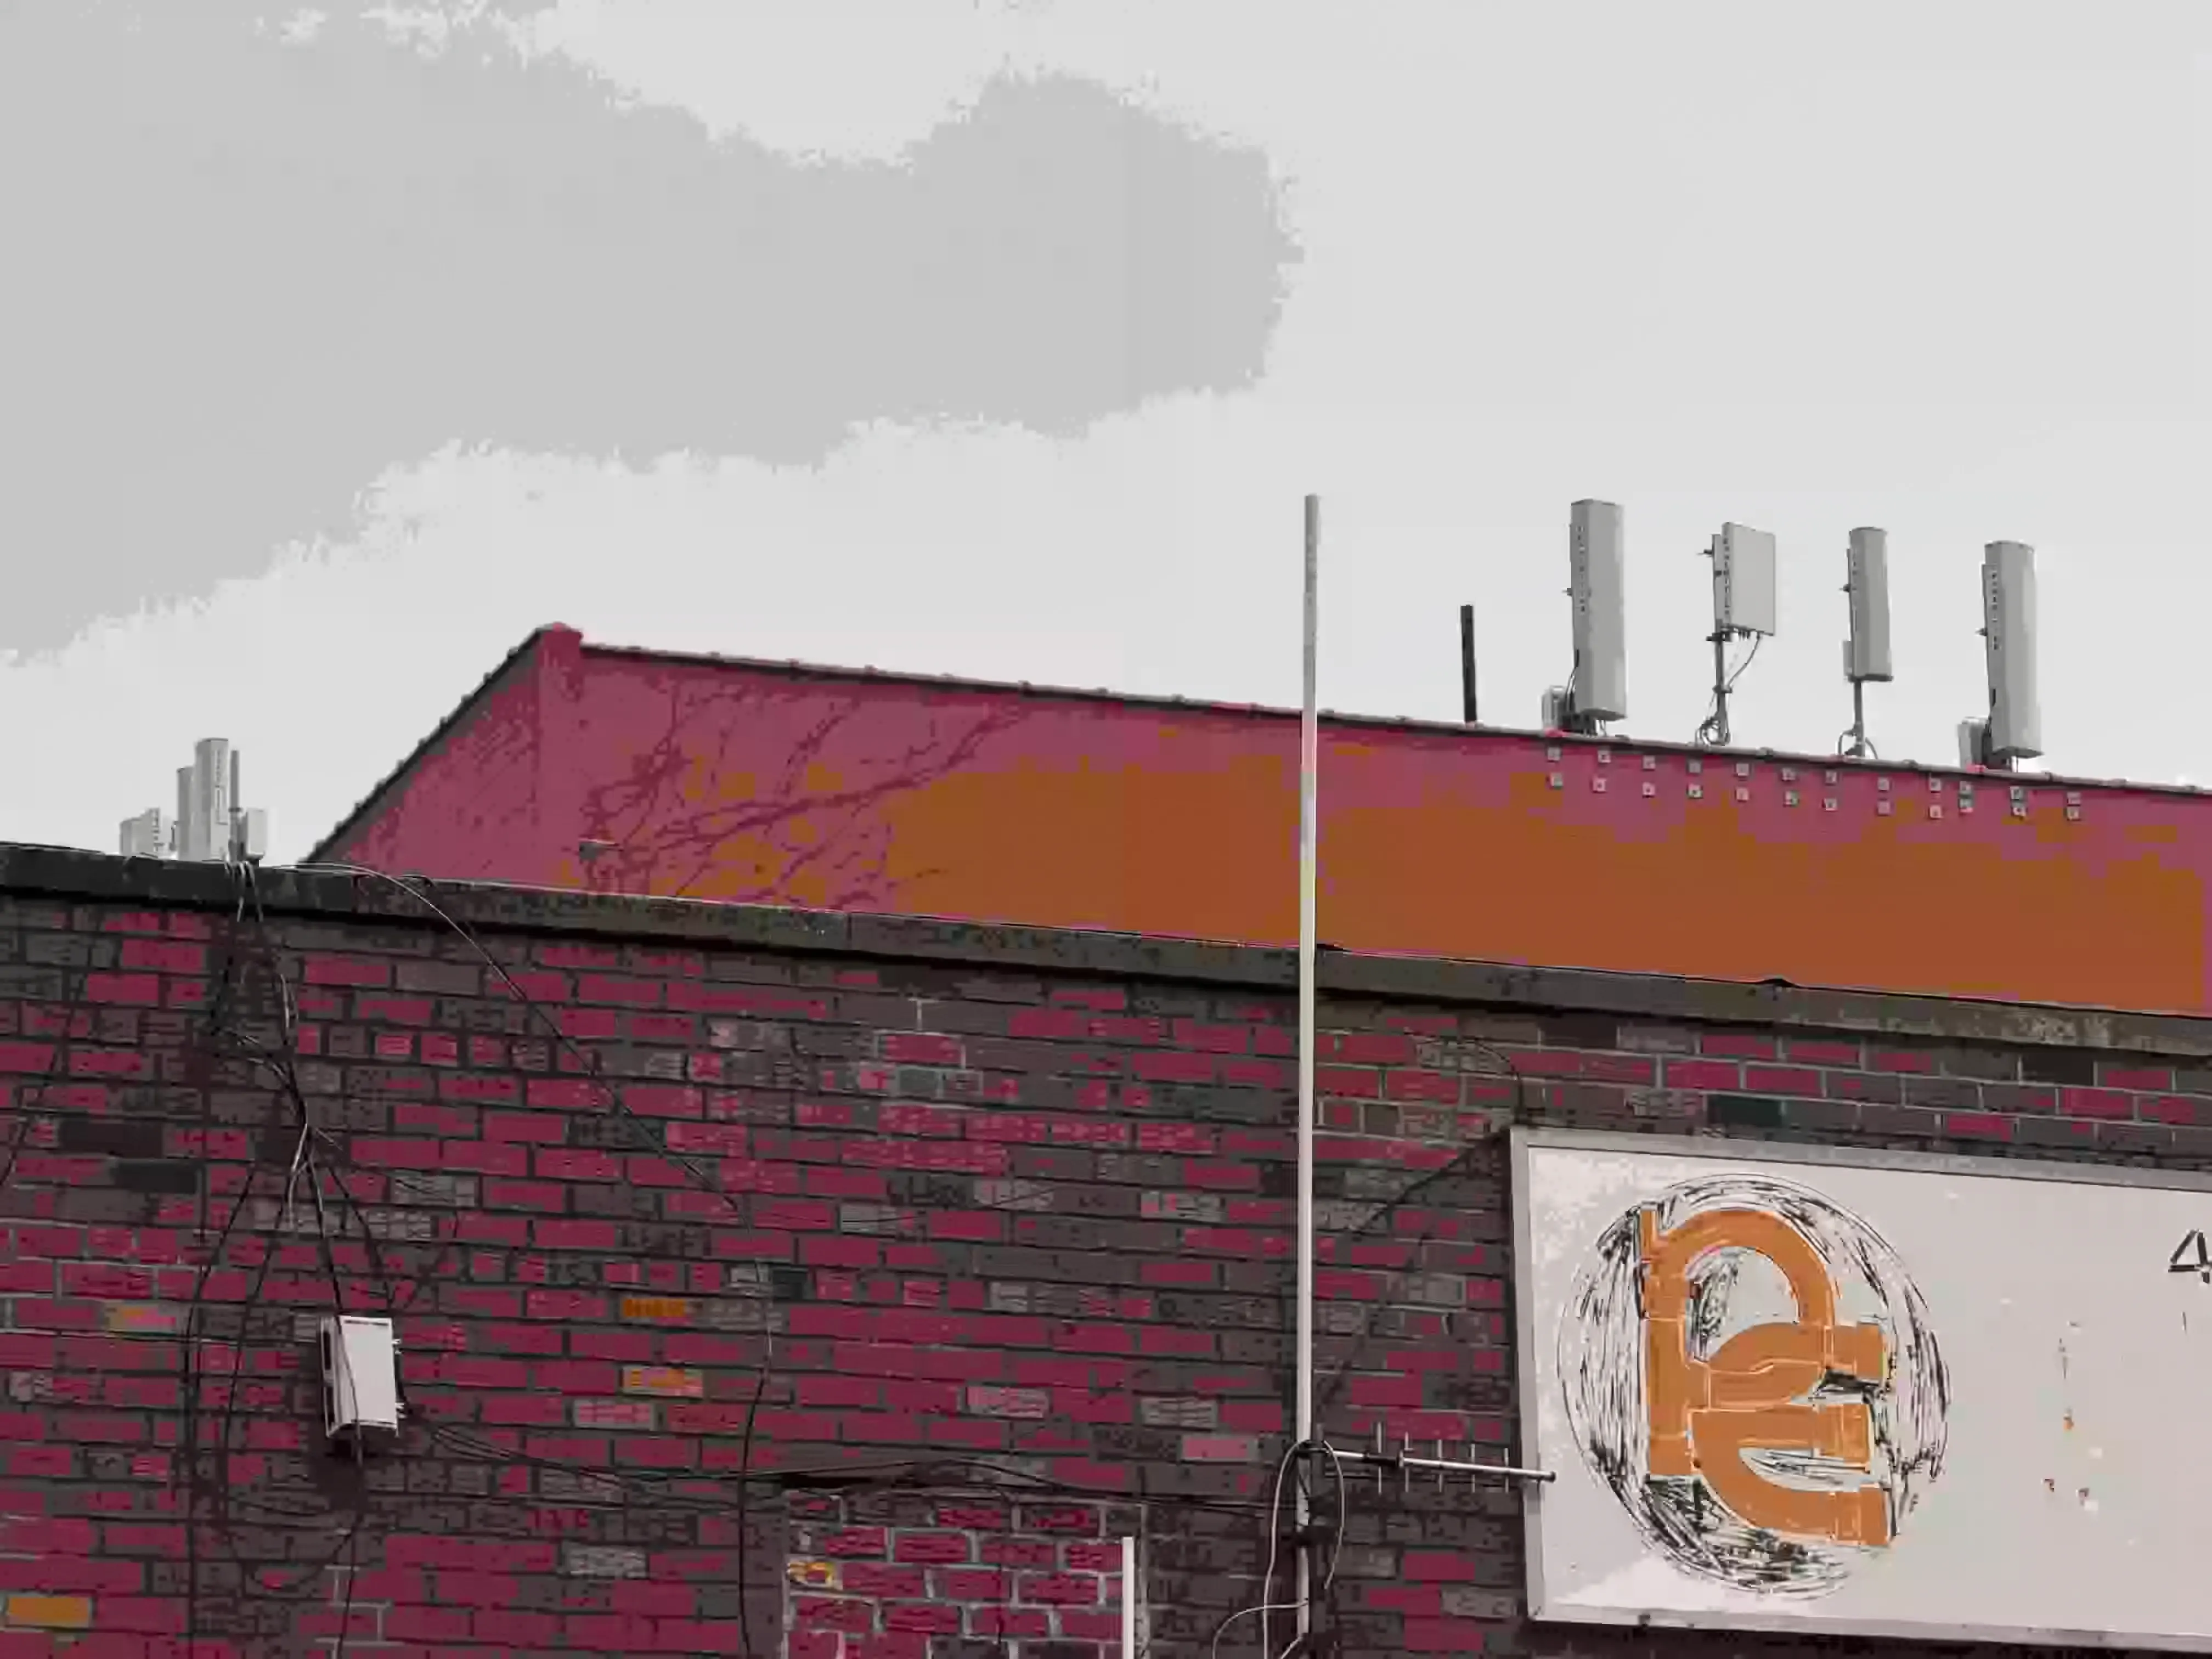
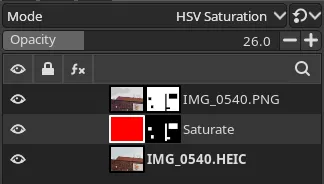
Now, you'll notice that there are no super blocky artifacts in this stage 3 image like there are in the final result I posted elsewhere. This is because I fooled you!! I made things look similar to compression artifacats, when actually it's just a specifically placed HSV Saturation mask designed to blow out the colors in ways that interact strangely with existing HEIC compression artifacts :3
I used postprocessing tricks on other images too, like the Colors > Desaturate > Mono Mixer tool, with "preserve luminosity" turned on & one of the channels having negative weight, for slightly wild effects on #3 ("split sky") & #5 ("undergrowth"). For the last one ("sunset"), I made it so there was a gradient mask smoothly transitioning between the original image in the bottom left to the compressed version in the upper right, following the overall gradient of the sky.
Overall!! There's a lot of fun to be had in messing around with images digitally, this really is just the tip of the iceberg if I want to actually start doing glitch art. I certainly enjoyed myself a lot with this and hope to do more as a part of The Coho Photozine Club!
Footnotes
-
Yes, these are all Shot on iPhone™️, I have another, smaller backlog of things on a "proper" digital camera that I did not have enough time to edit for these unfortunately. Canon raws look pretty good but they always can use a little bit of tweaking, whereas iPhone photos always pop. "just shoot jpeg" i guess ↩
-
In order to not destroy any devices that load this page with 28MB images near the top of the fold, my website pipeline automatically compresses them to
-quality 90WebP at various sizes. If you click on any given image (left-click, not right-click), you'll be taken to the original for closer inspection. ↩
